Many of you would probably know by now that I love making tarts. Yup, yet another tart recipe today for you!!
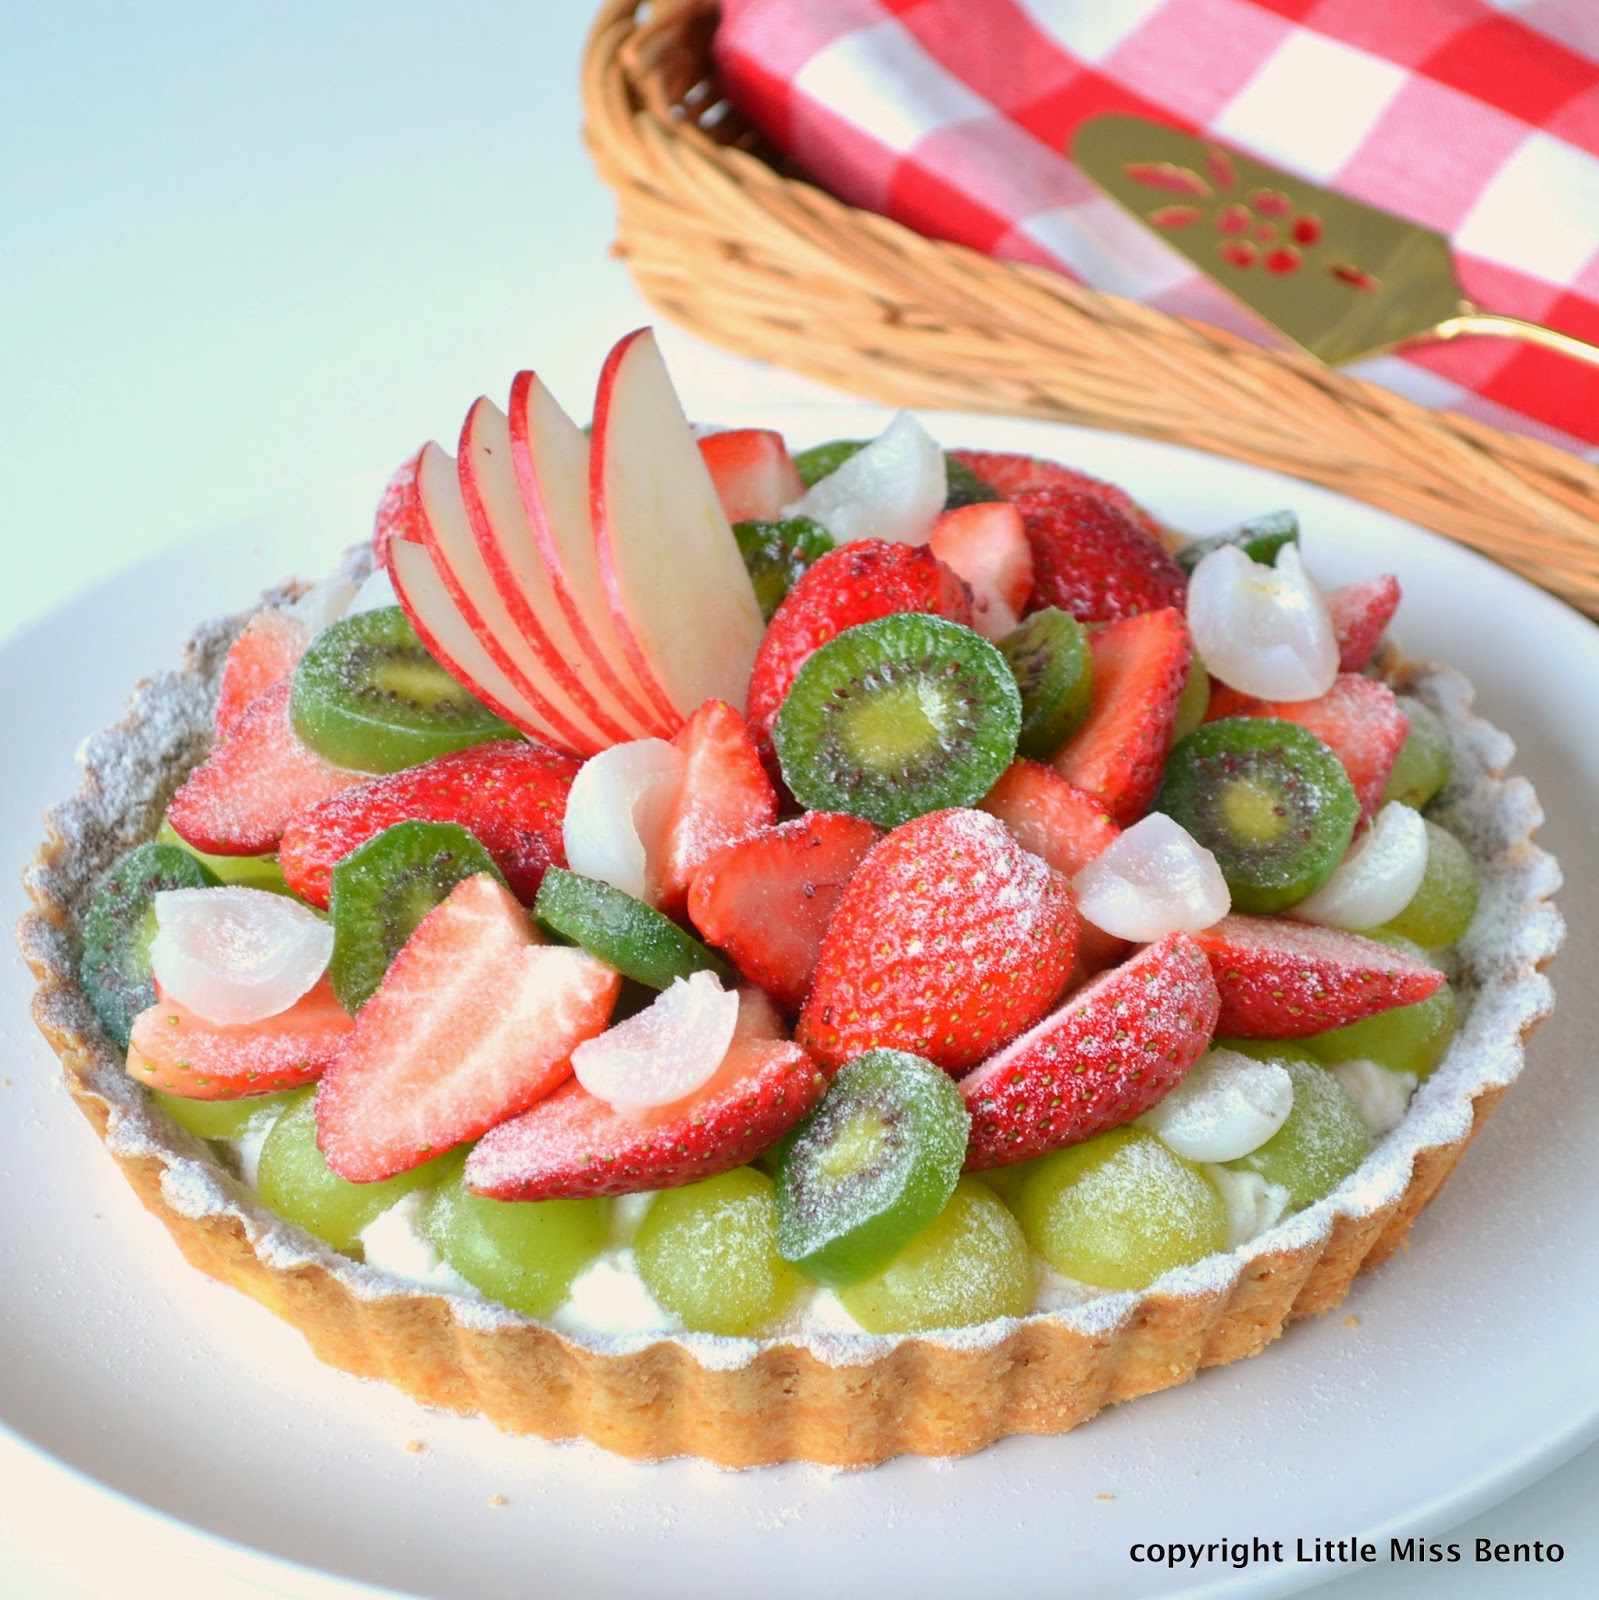
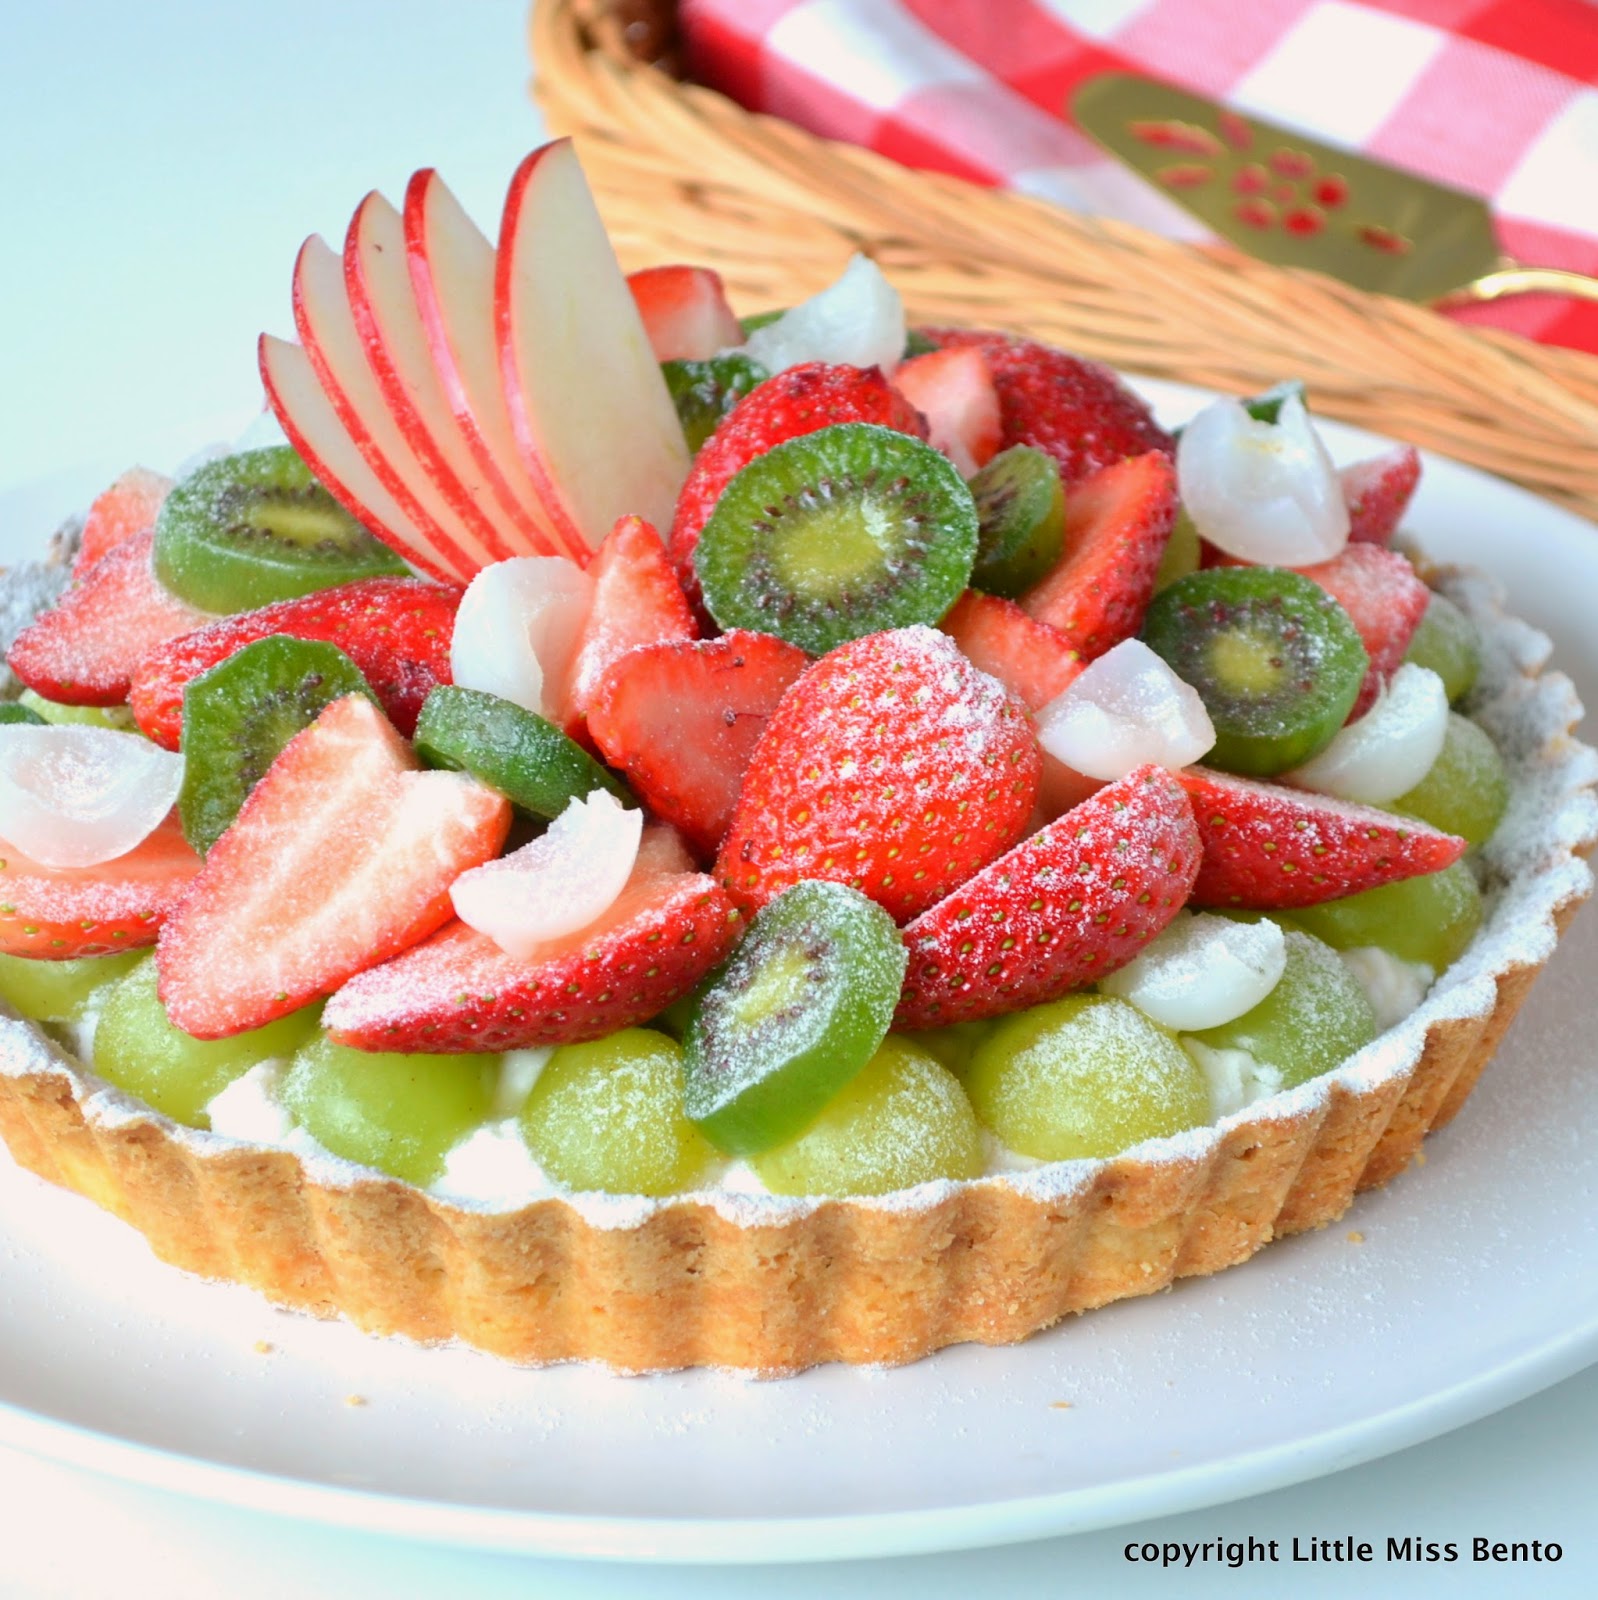
Instead of my usual custard filling, I made homemade yogurt mousse fruit tart, oh my my… the yogurt mousse dare I say it myself, is so so yummy!!Â
It had the right amount of sweetness, matched with the refreshing flavour of yogurt and a melt-in-your mouth mousse texture. Please try this yummy recipe.Â
I made this for a hen party celebration of a good friend and the tart got thumbs up for everyone :) yay!! :D
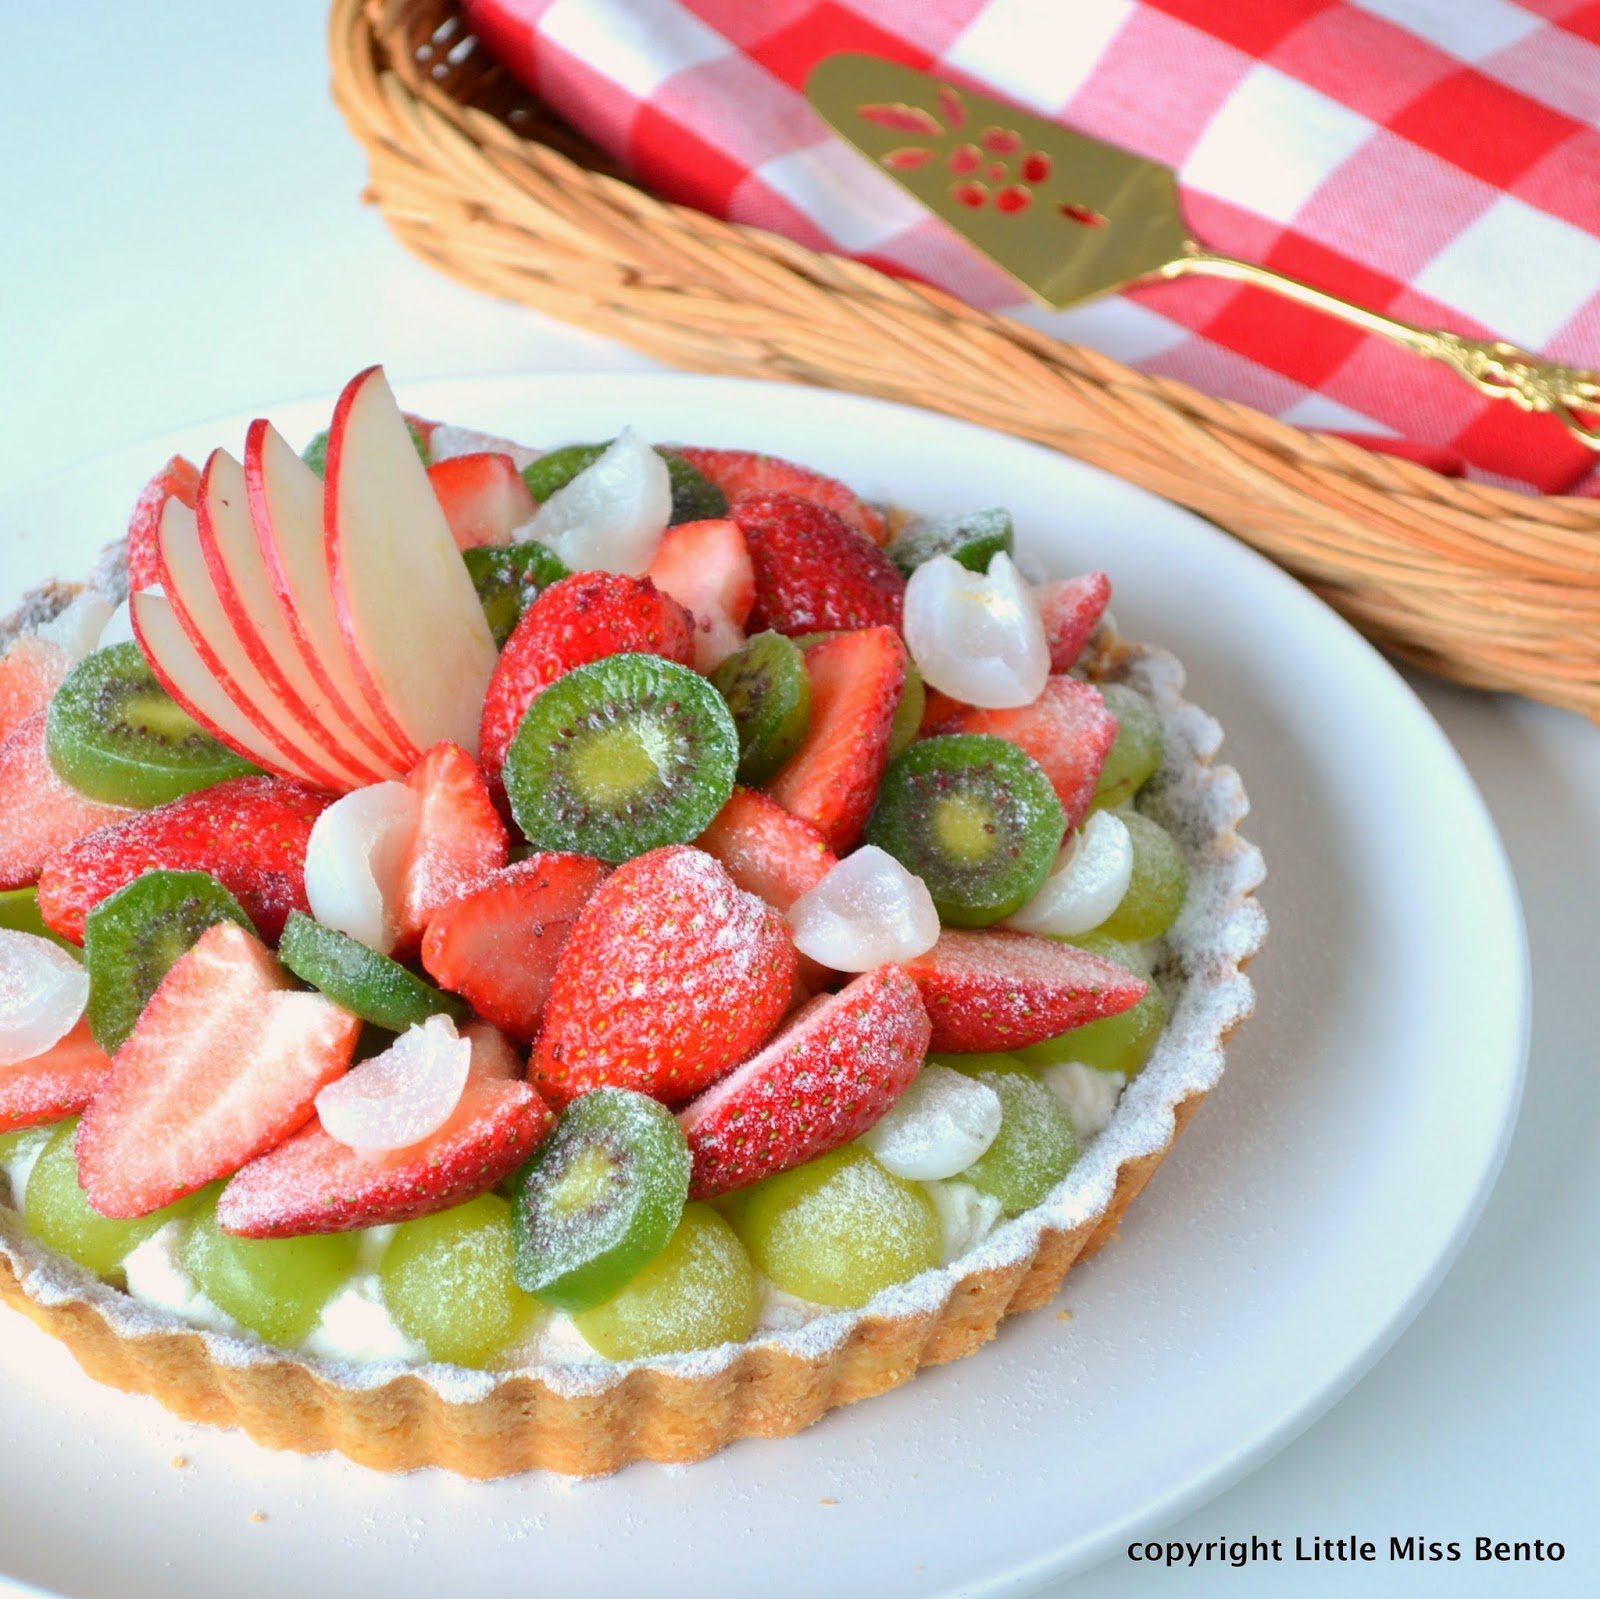
You can add your favorite fruits toppings for the tart. For this tart, I added strawberries, kiwi berries, grapes, some longan pieces and apple slices!
Recipe for Yogurt Mousse Tart (for 18cm size tart x 1)
1. One baked tart crust (To bake your tart crust, please refer to my trusty tart crust recipe here)
2. Yogurt Mousse Tart Filling
- 280g plain yogurt *I use marigold plain yogurt (has sugar)
- 200ml whipping cream
- 15g sugar (for cream)
- 40g sugar (for yogurt)
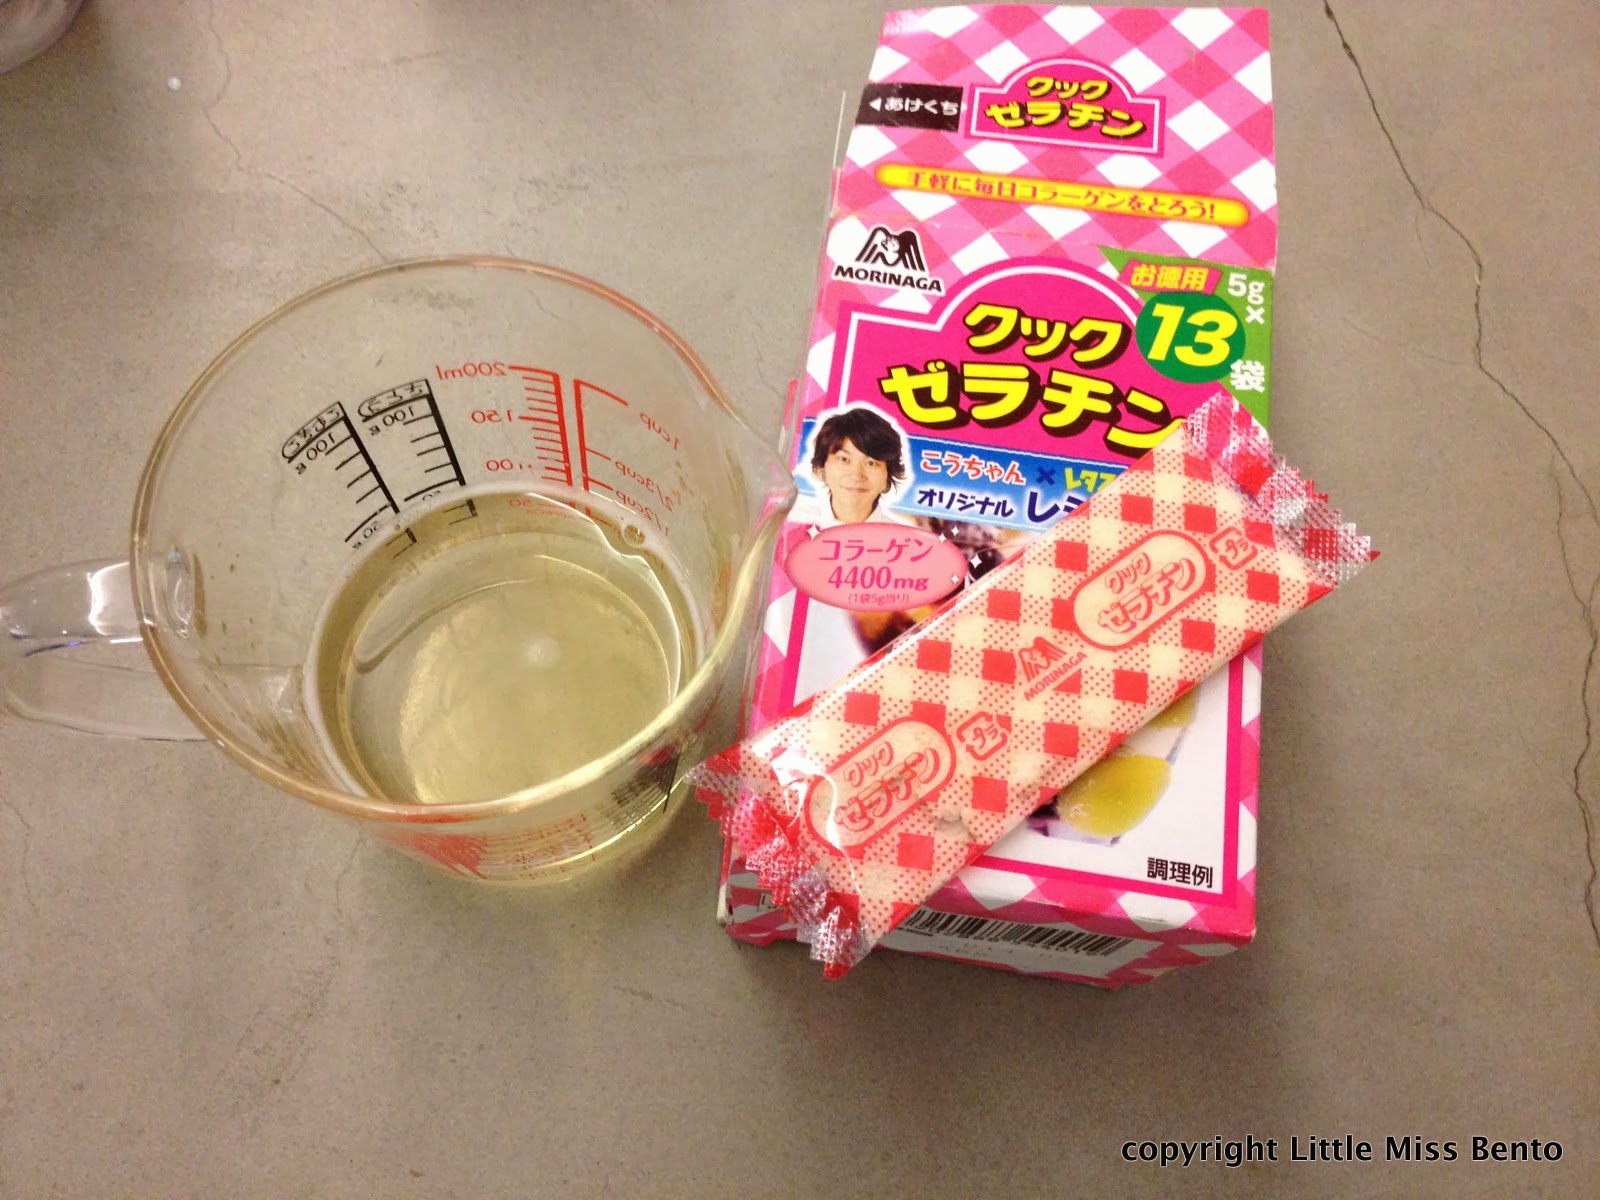
- 10g gelatin powder
- 75ml water
3. Fruits for tart topping
- Grapes (halved), strawberries (halves and whole), kiwi berries (sliced), longans (cut into bit size), apple slices
- Snow sugarÂ
Method
(in this order)
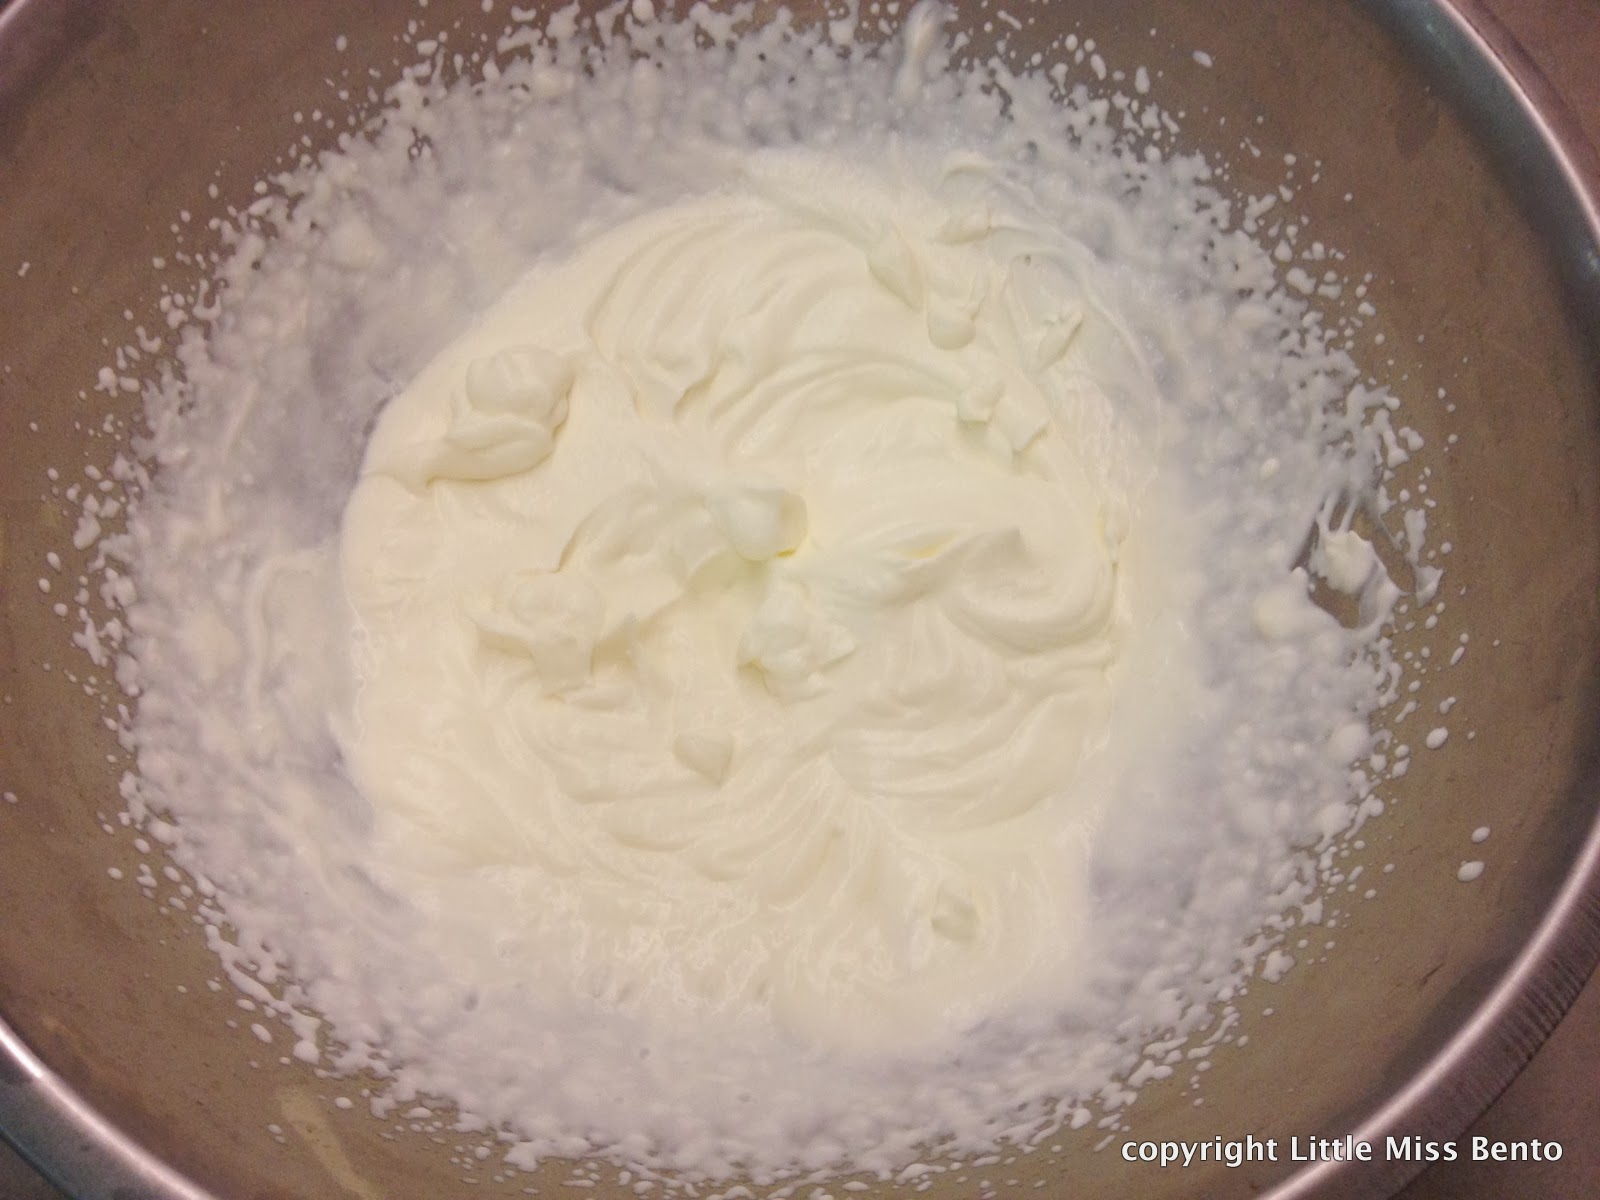
1. In a bowl, add whipping cream and 15g sugar. Beat with mixer at high speed until peaks form. Set in the chiller.Â
2. In another bowl, add in the plain yogurt and sugar, mix well
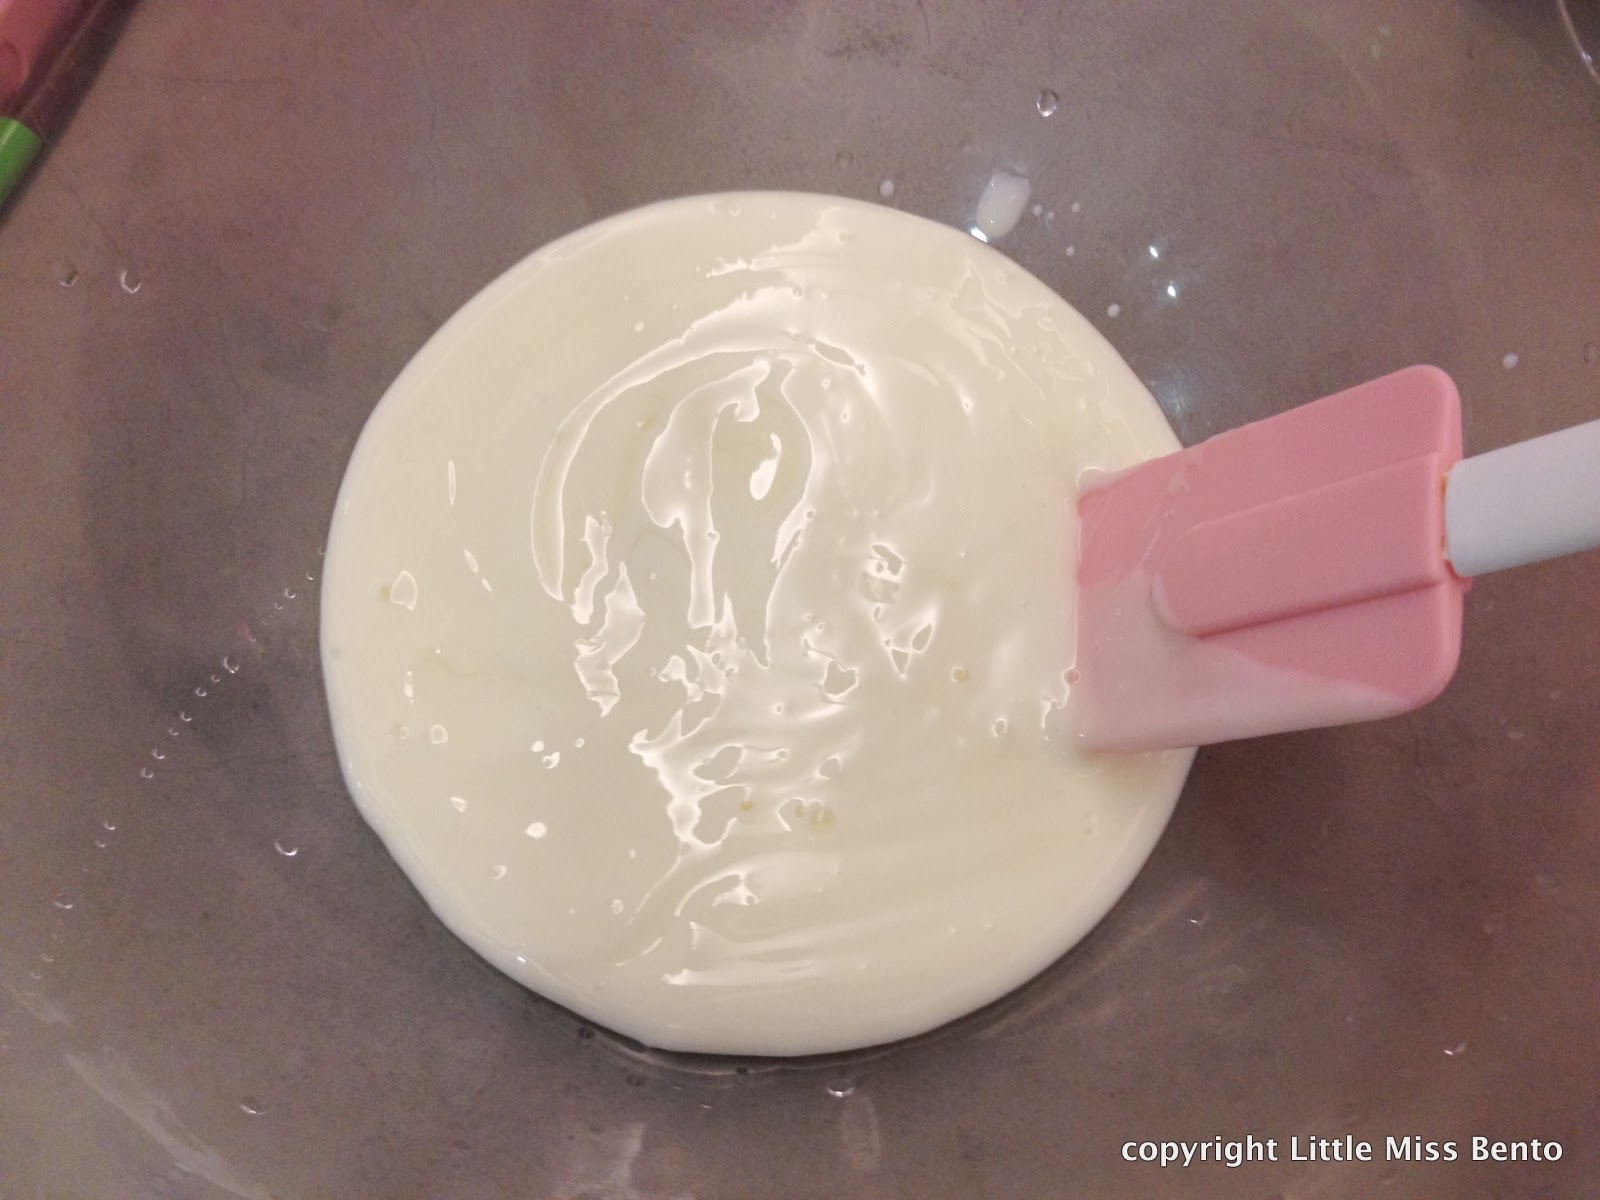
3. In a heat resistant cup or bowl, add in the gelatin powder and water. Heat in the microwave at 500W for 15 sec until gelatin dissolves.Â
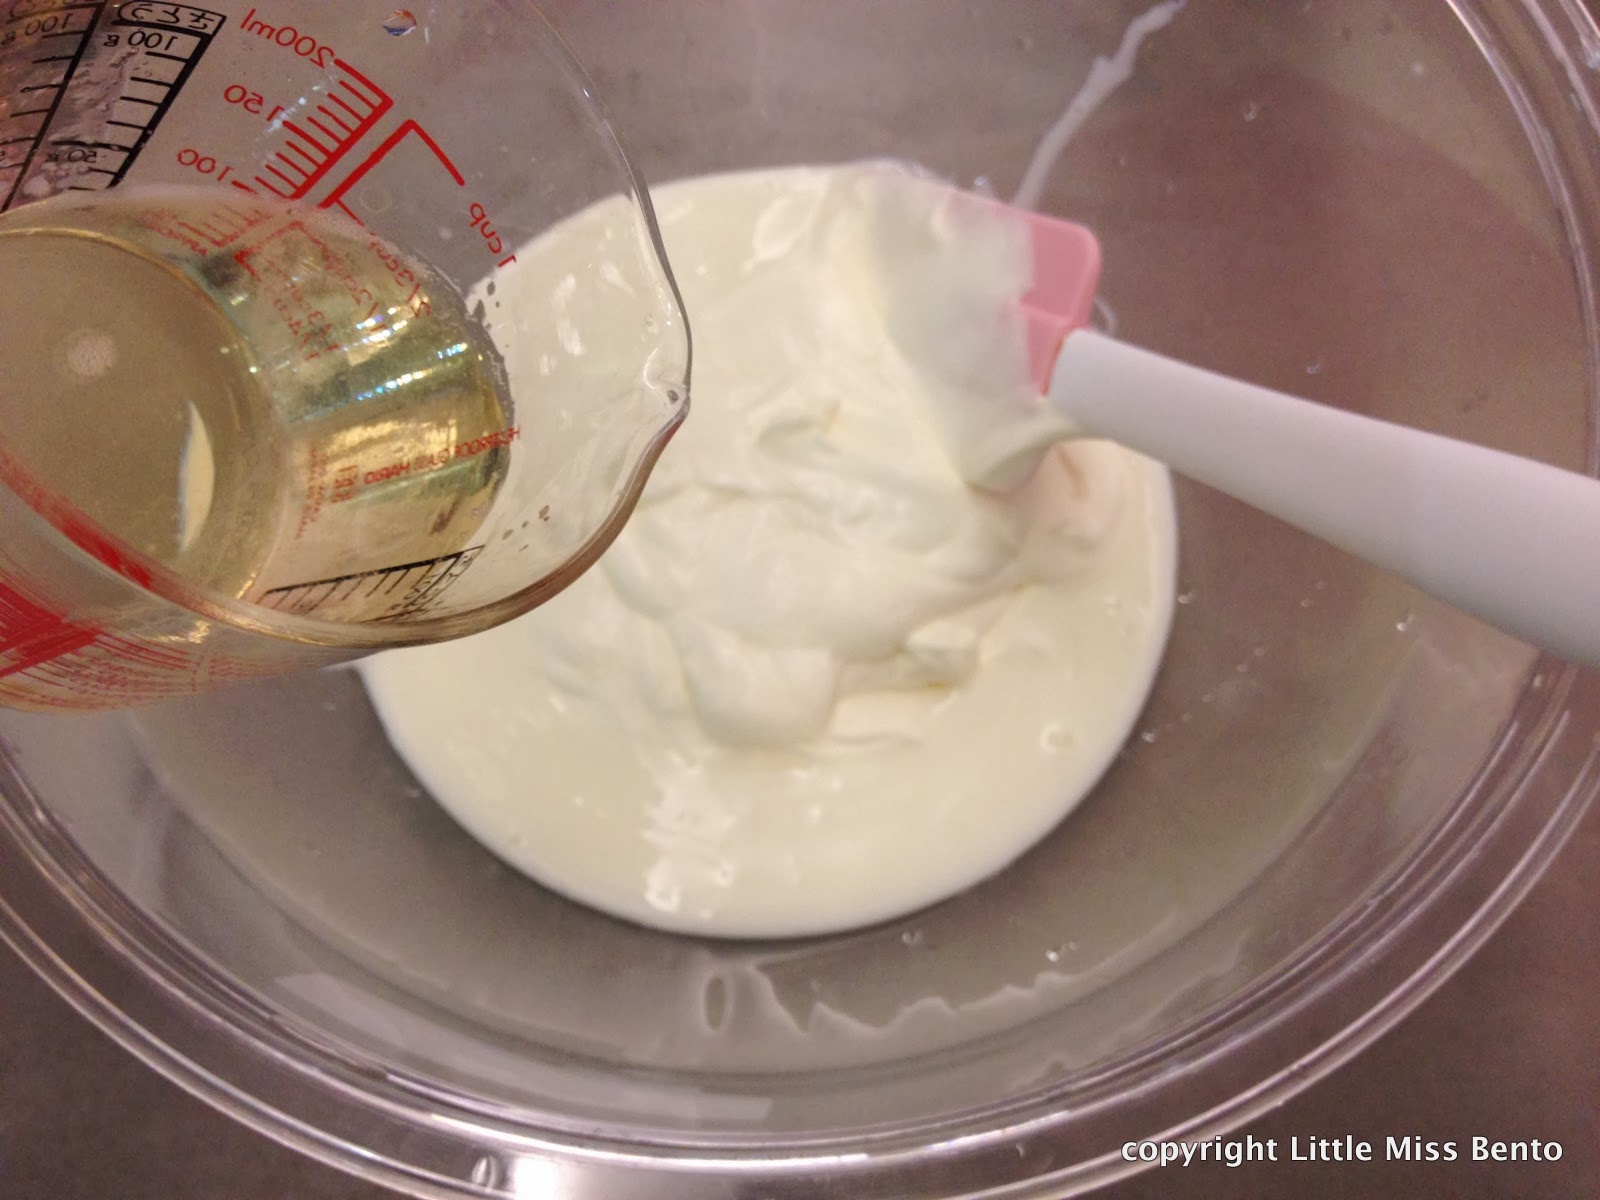
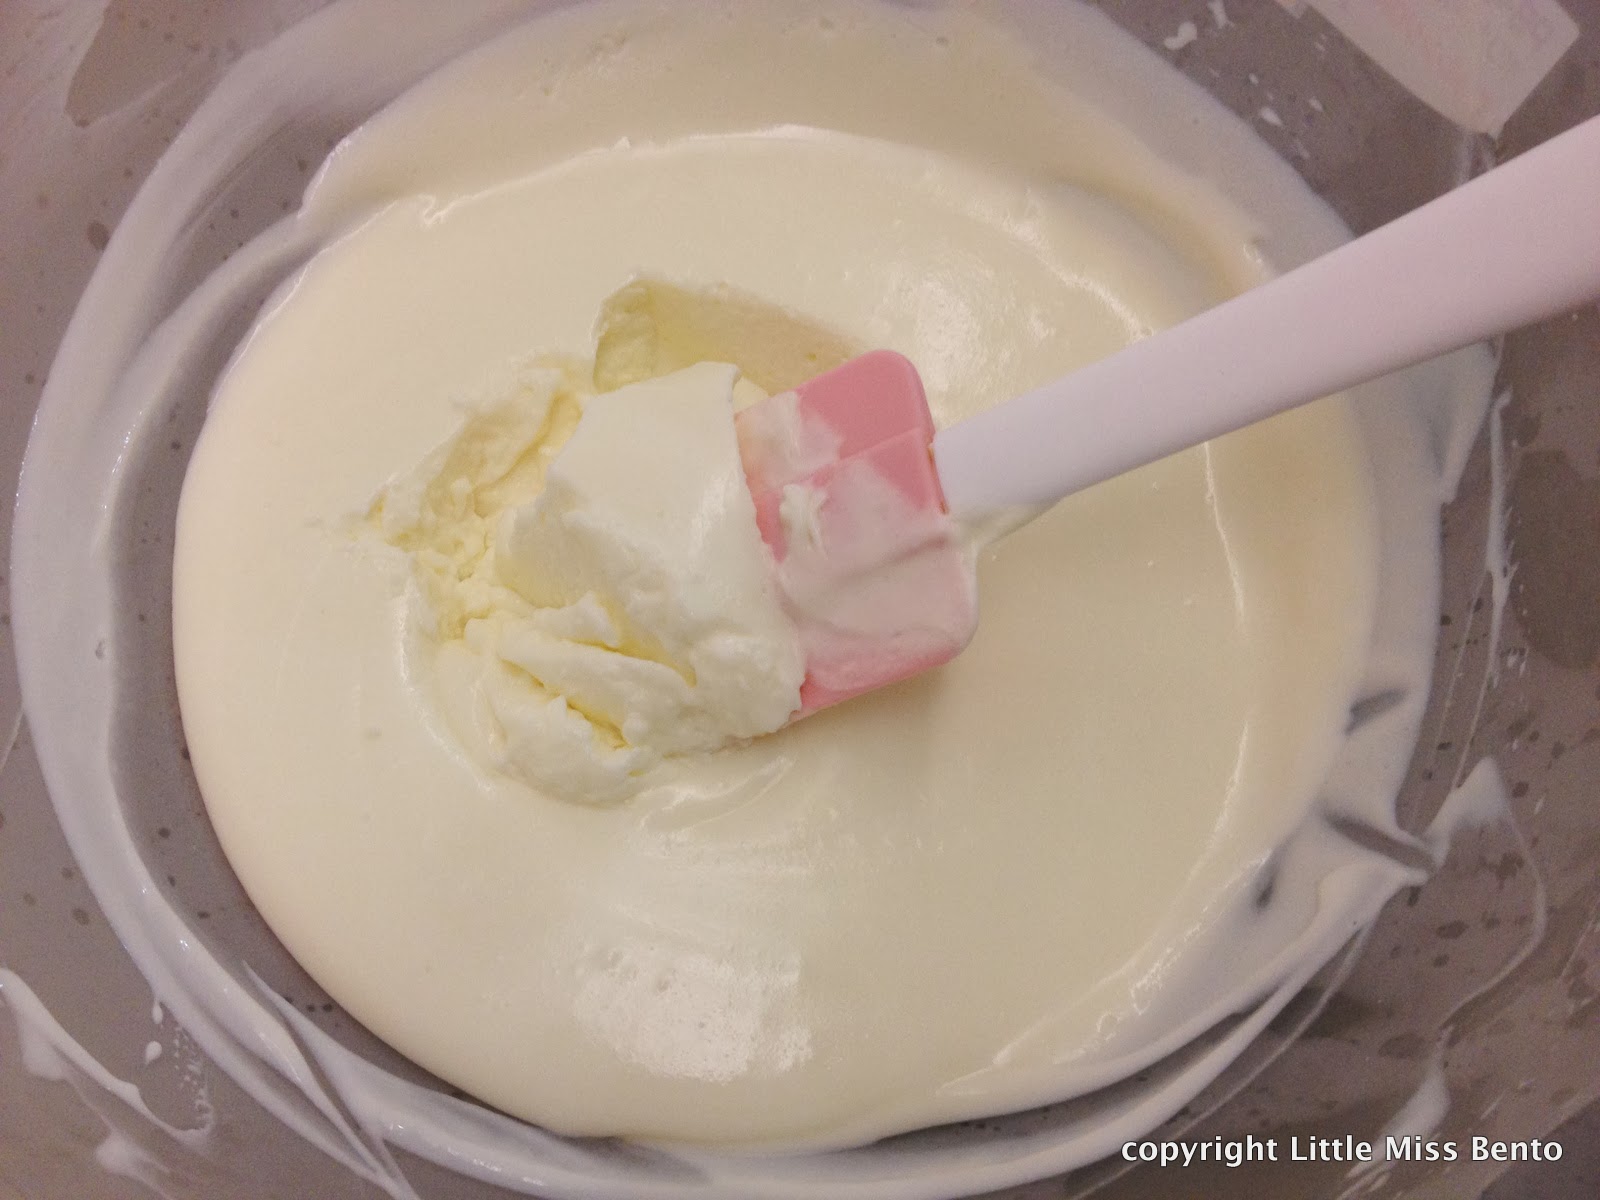
4. Fold in the whipped cream into the yogurt mixture and add in the gelatin, fold until evenly mixed (it does not take very long).Â
5. Set in the chiller for about 1 hour, after which, it would have a mousse like curdish texture.Â
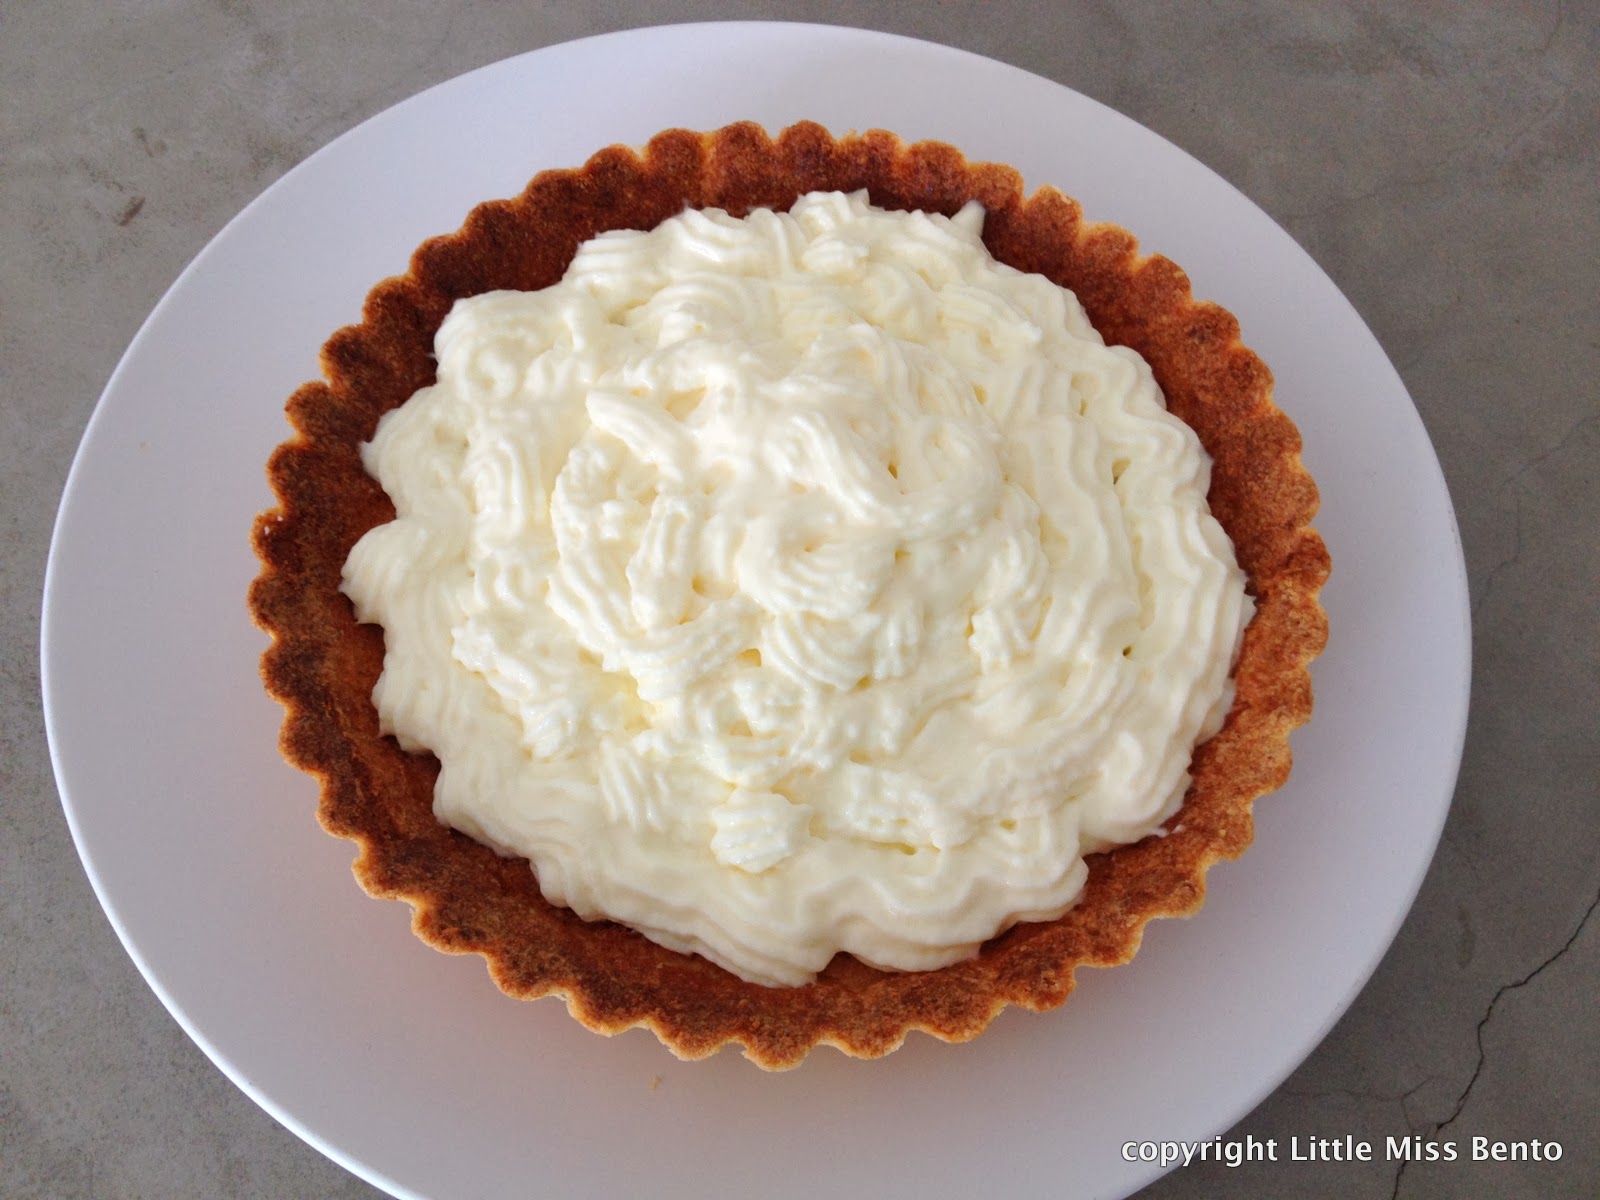
6. Fill your baked tart crust with the yogurt mousse filing. The tart crust should be fully cooled before you fill in the yogurt mousse.Â
7. Add and arrange the fruit toppings.
The video shows the arrangements of the fruits on the tart:
- First I dusted the tart crust with snow sugar.Â
- On the yogurt mousse, I arranged grape halves, strawberries, kiwi berries, longan bits and apple slices (in this order).Â
8. Dust on snow sugar after all the fruit toppings are arranged to give it a sweet dreamy presentation look and feel.Â
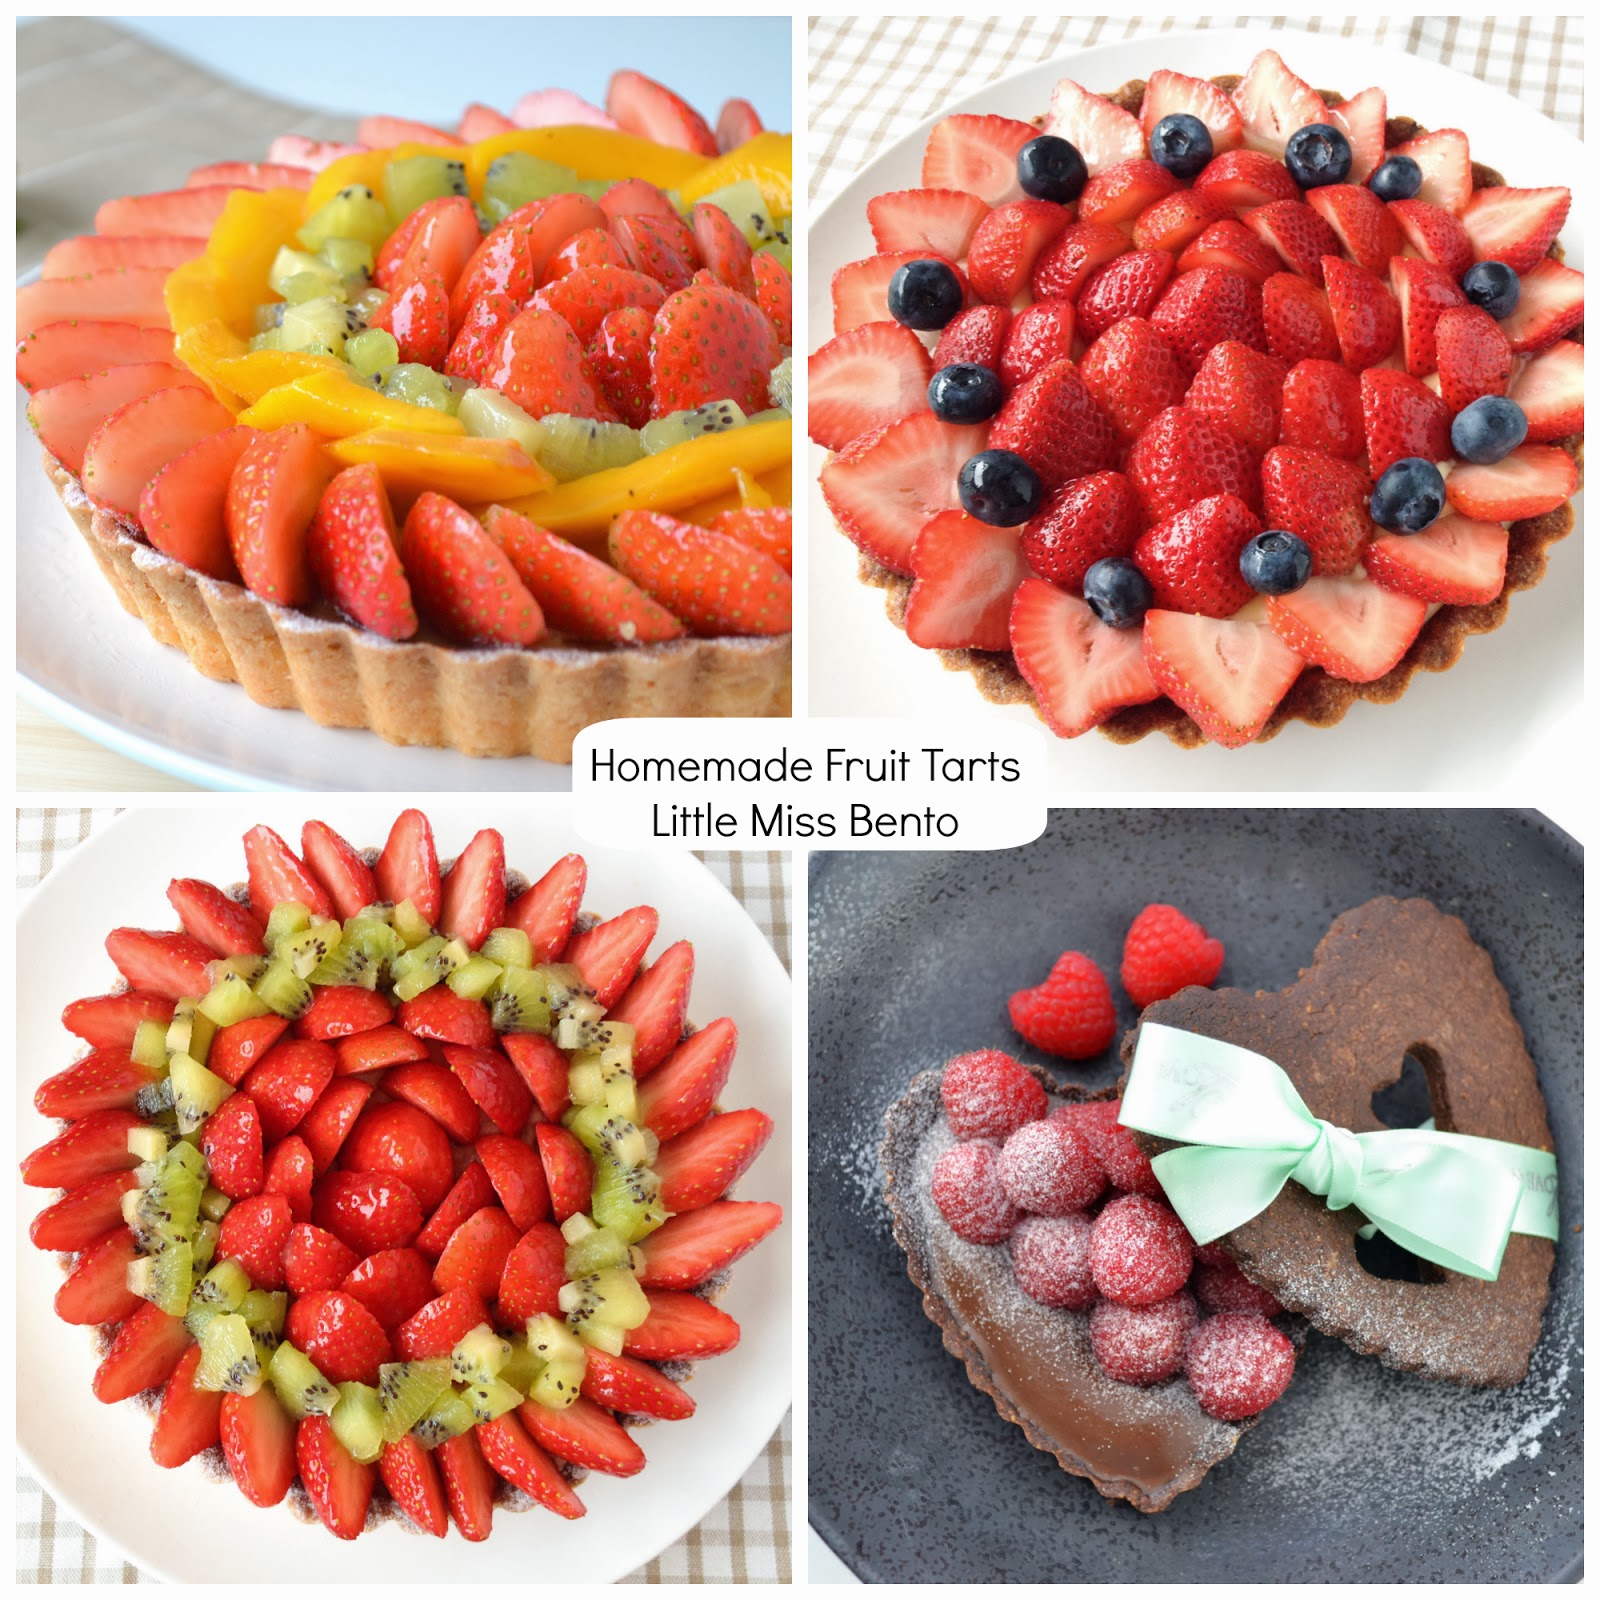
If you have time, do check out my other tart creations :)
- Mixed Fruit Tart Recipe フルーツタルトã®ãƒ¬ã‚·ãƒ” (post)
- Strawberry and Kiwi Homemade Fruit Tart イãƒã‚´ã¨ã‚ウイã®ãƒ•ãƒ«ãƒ¼ãƒ„タルトレシピ (post)
- Raspberry Dark Chocolate Tart Recipe ãƒãƒ§ã‚³ãƒ¬ãƒ¼ãƒˆã‚¿ãƒ«ãƒˆãƒ»ãƒãƒ¬ãƒ³ã‚¿ã‚¤ãƒ³ã®ãƒ¬ã‚·ãƒ” (post)
- Homemade Strawberry Fruit Tart 自家製イãƒã‚´ã®ãƒ•ãƒ«ãƒ¼ãƒ„タルト (post)
Follow my food art and bento creations on Facebook, LIKE my page here. :)
ブãƒã‚°ã®ãƒ©ãƒ³ã‚ングã«å‚åŠ ä¸ã€‚よã‚ã—ã‘ã‚Œã°ã‚¯ãƒªãƒƒã‚¯ã—ã¦ãã ã•ã„ã♪ ã‚ã‚ŠãŒã¨ã†




March 13, 2014
好漂亮!谢谢分享那诱人的酸乳酪慕斯食谱^^
March 13, 2014
谢谢你!真的好好吃!嘻嘻!
March 12, 2014
Yummy! N looks beautiful always!
March 13, 2014
thank you! :) it was very yummy!
March 12, 2014
Looks super yummy! Thanks for sharing the recipe! Love the idea of yoghurt mousse!
March 13, 2014
Thanks dear! Try it, so yummy!
March 12, 2014
thanks for the recipe! your tarts all look amazing, can’t wait to try it out. i like it that your yogurt mousse uses gelatin so it will hold well in our weather. keeping my fingers crossed my arrangement of fruits will look as nice as yours lol
March 13, 2014
Thanks dear!! I cant wait to see your completed tart! I am sure it will be perfect. Yes, I know some pple dont like gelatin, but n this case, it is important as it will help hold the mousse well in our hot weather :)