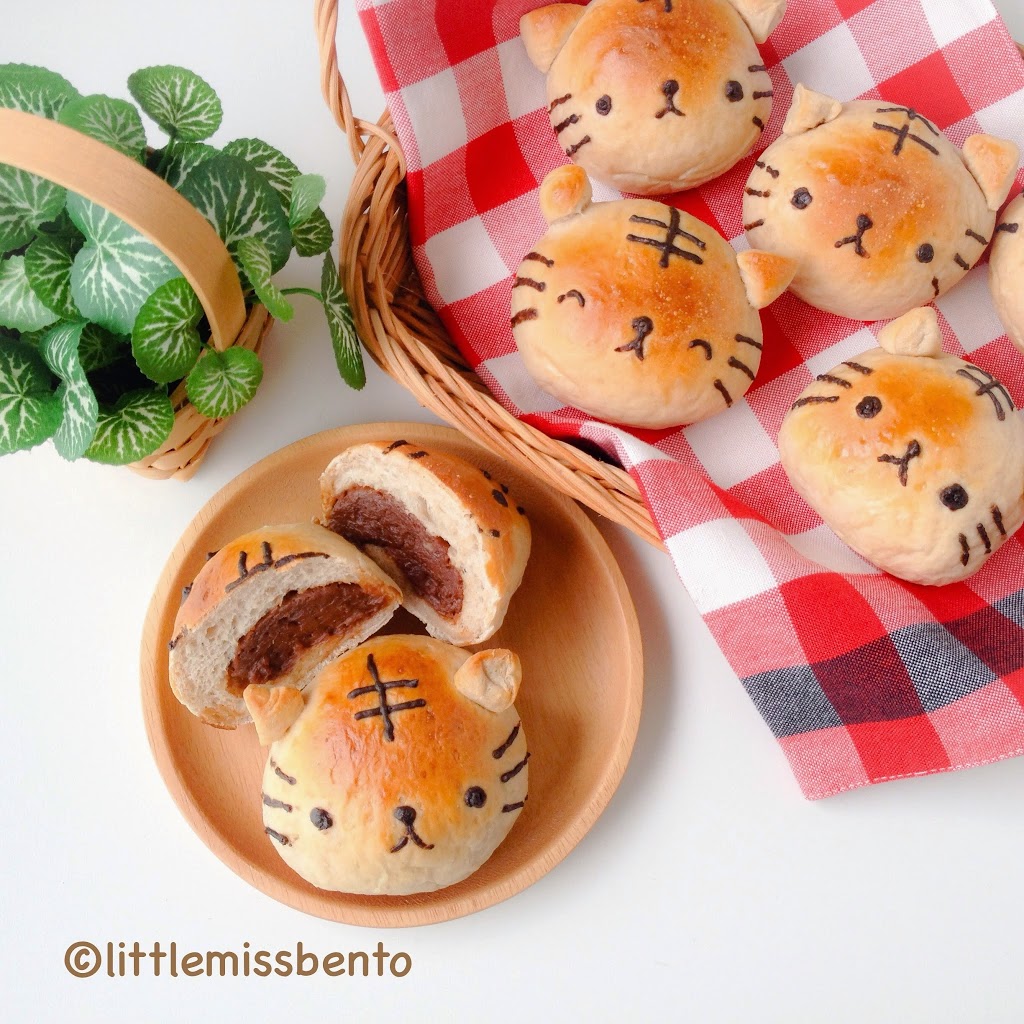
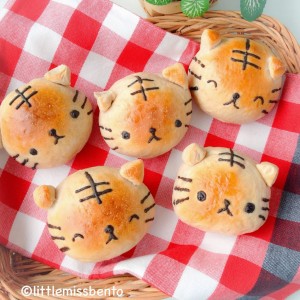
So happy that my kawaii milo bread buns were a success!! They were so soft, and filled with yummy homemade milo custard filling!!
The one thing that I might do the next time is to perhaps blend the milo custard filling in a processor so that it is even more smooth.Â
Milo is a chocolate malt drink popular in Singapore and in Malaysia. Since when we were children, many of us loved drinking milo, that chocolatety drink at home, in school and at coffeeshops. It was regarded as a pretty nutritiousness drink.Â
There are so many ways to enjoy a milo drink – hot, cold, with condensed milk, or without. And not to forgot the famous milo dinosaur – an ice cold milo drink topped with more milo powder (which doesnt melt in the cold drink) and retains that gritty texture. It is also enjoyed together with square biscuits by some people. What is your favourite way to enjoy milo?
As a kid, I remembered how I would mix some hot water with milo powder, just enough to make it into a paste, and used it as bread spread!! LOL
Anyway, I thought – what not better but to create my own milo bread recipe?
So I hope you like this recipe for homemade milo bread buns filled with homemade milo custard cream!
As usual, my bread recipe stems from Japanese soft bread style~ enjoy!!
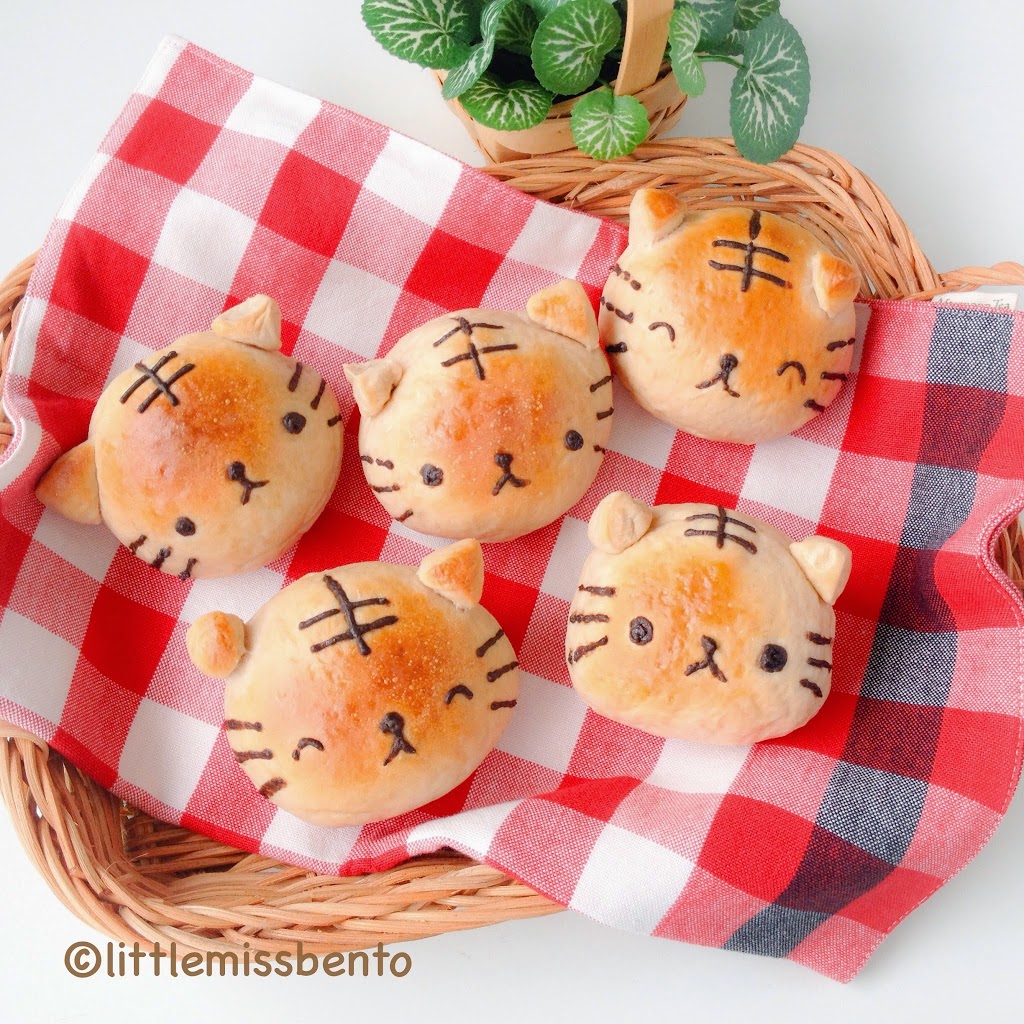
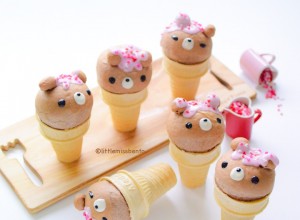
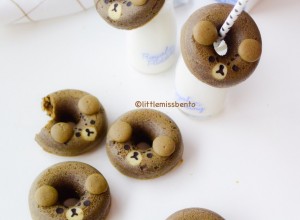
Inspired by my mother’s upcoming birthday, she is of Tiger Chinese zodiac so I made them into cute tiger bread buns!
Recipe for Homemade Milo Bread Buns, Cute Tiger Bread
Ingredients (Milo custard filling)
150ml milk
3 egg yolks
20g sugar
40g milo powder
30g corn flour
Ingredients (Bread dough)
250g bread flour
2 tbsp sugar
3 tsp milo powder
1.5 tsp instant yeast
1 tsp salt
150ml warm water (about 35C~40C)
10g unsalted butter
Ingredients (Chocolate custard used for drawing the tiger character)
80ml milk
1 egg yolk
10g sugar
1 tsp cocoa powder
Method (Milo custard filling) PART 1
1) In a small mixing bowl, add egg yolks, sugar, milo powder and corn flour. Mix well until it forms a paste.
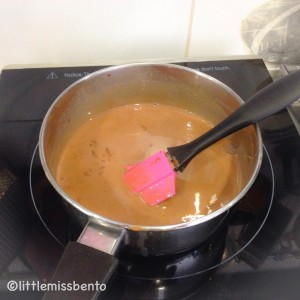
2) In a small pot, heat the milk until small bubbles at the side appear, stir a couple of times. Remove from heat.
3) Add the paste from step 1 to the heated milk.
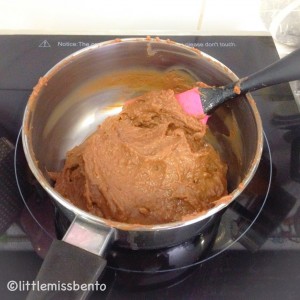
4) Place the pot over heat again and keep mixing and stiring until the paste is incorporated into the milk. Continue to cook and stir with a plastic spatula until it forms a curdish texture. remove from heat.
5) Set in a bowl to cool. Place in the fridge.
Continue to start on making the bread dough.
Method (Bread dough) PART 1
1) In a big mixing bowl, sieve and add in bread flour, sugar, milo powder, salt. Then add in instant yeast and warm water. Mix until it forms a flaky texture. Add in the soften unsalted butter and mix again.
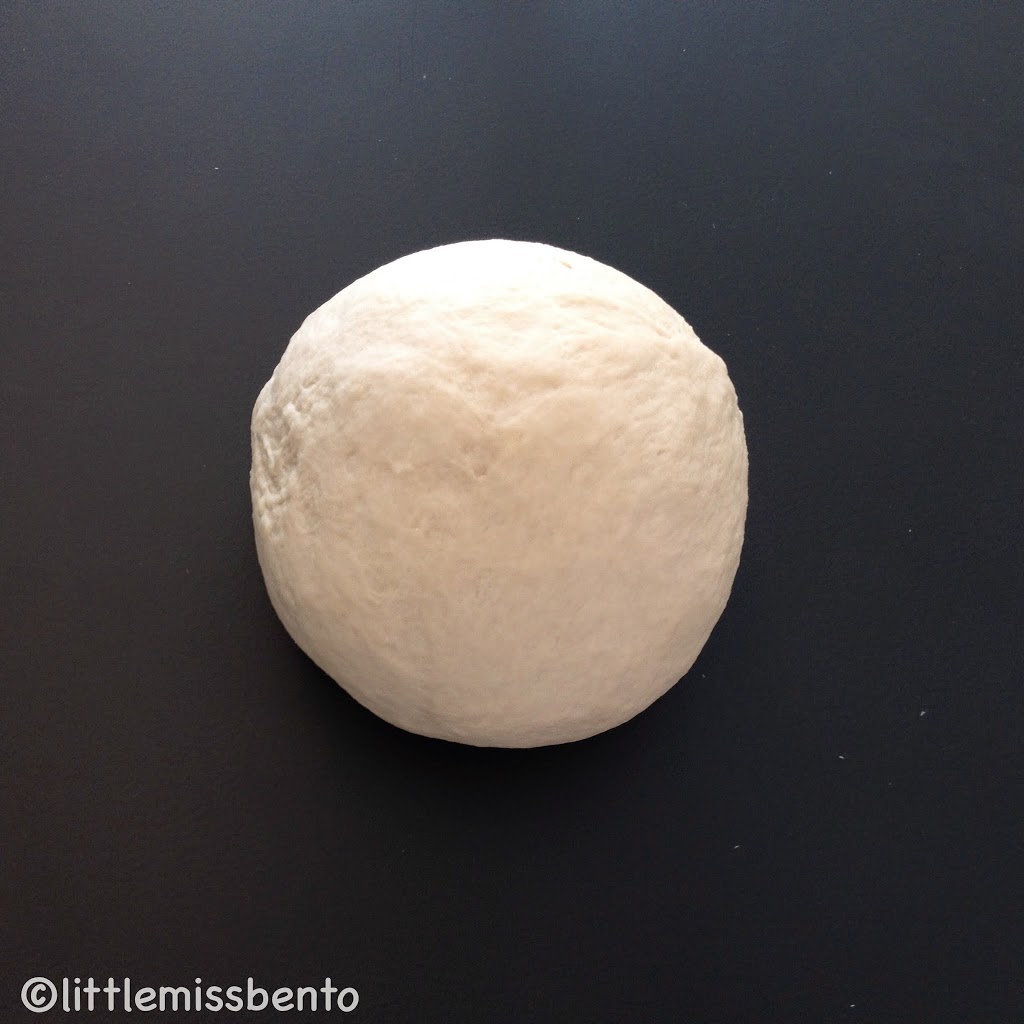
2) Transfer all the contents on your worktop and use your hand to knead until butter is incorporated and the dough is smooth, softer and stretchy. It should take about 15mins.
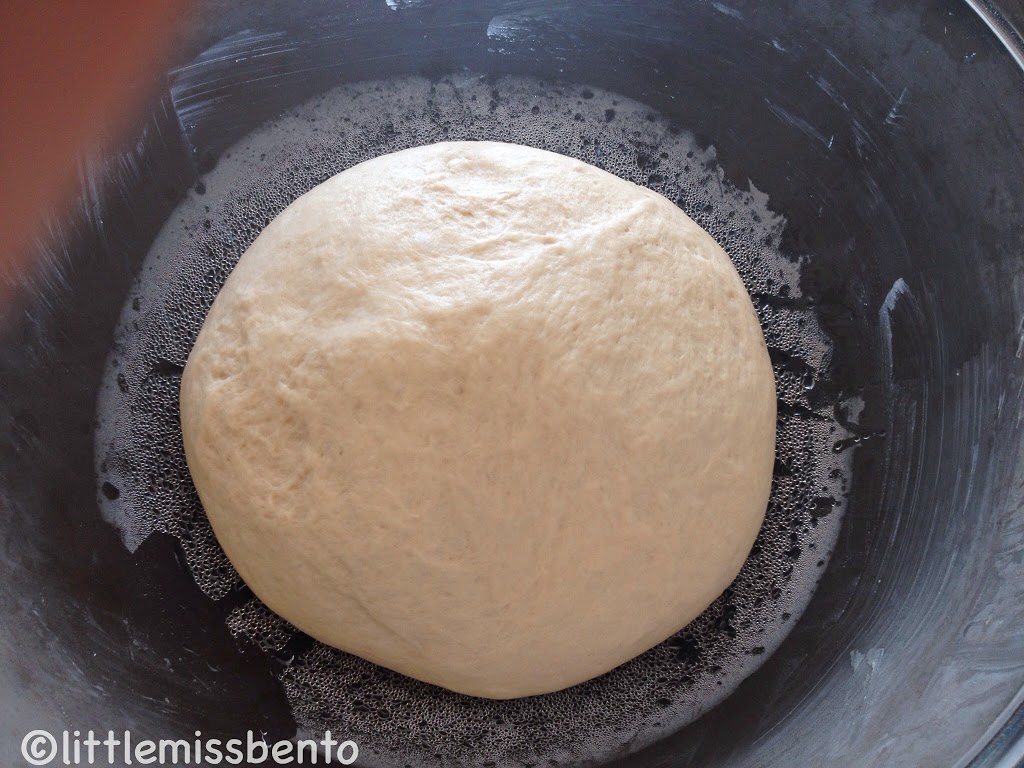
3) Shape into a ball and place it back in your mixing bowl. Cover with cling wrap and let it rise at about 40C for about 45-50mins.
4) Do the dough test. The risen dough should have doubled in size.
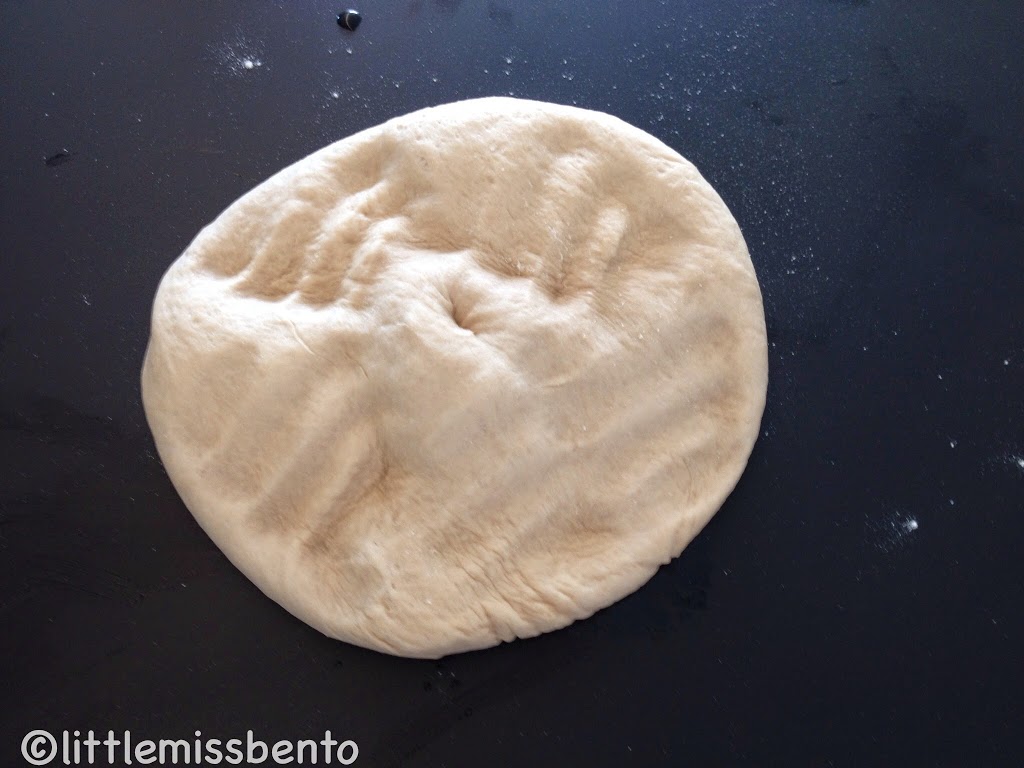
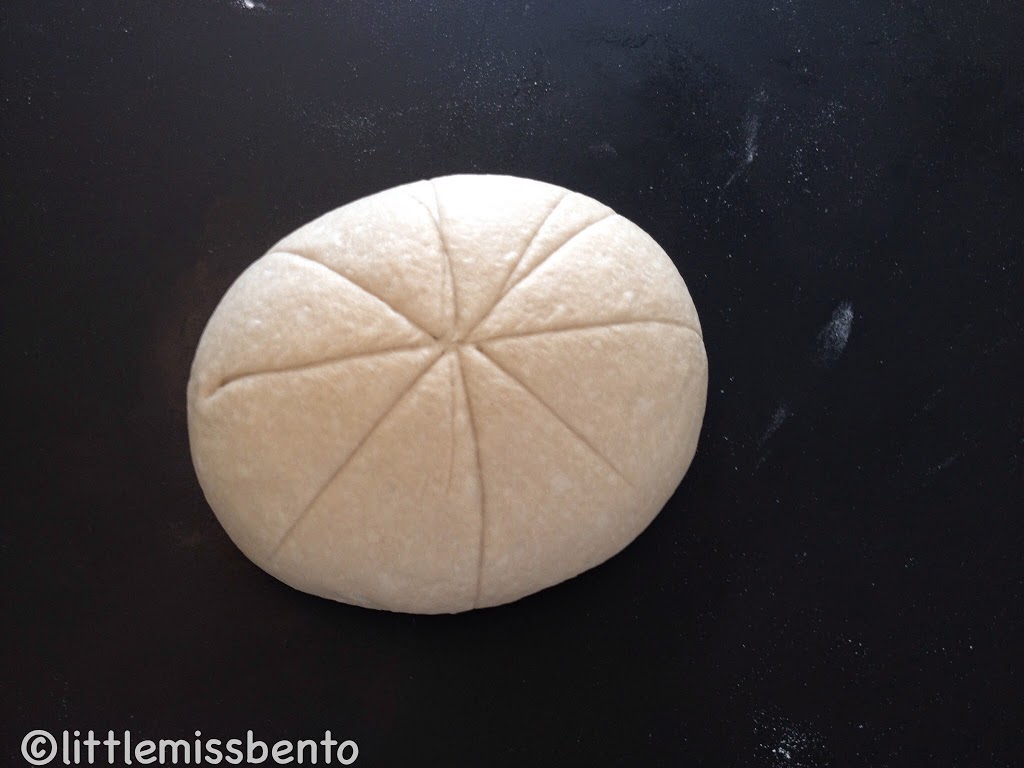
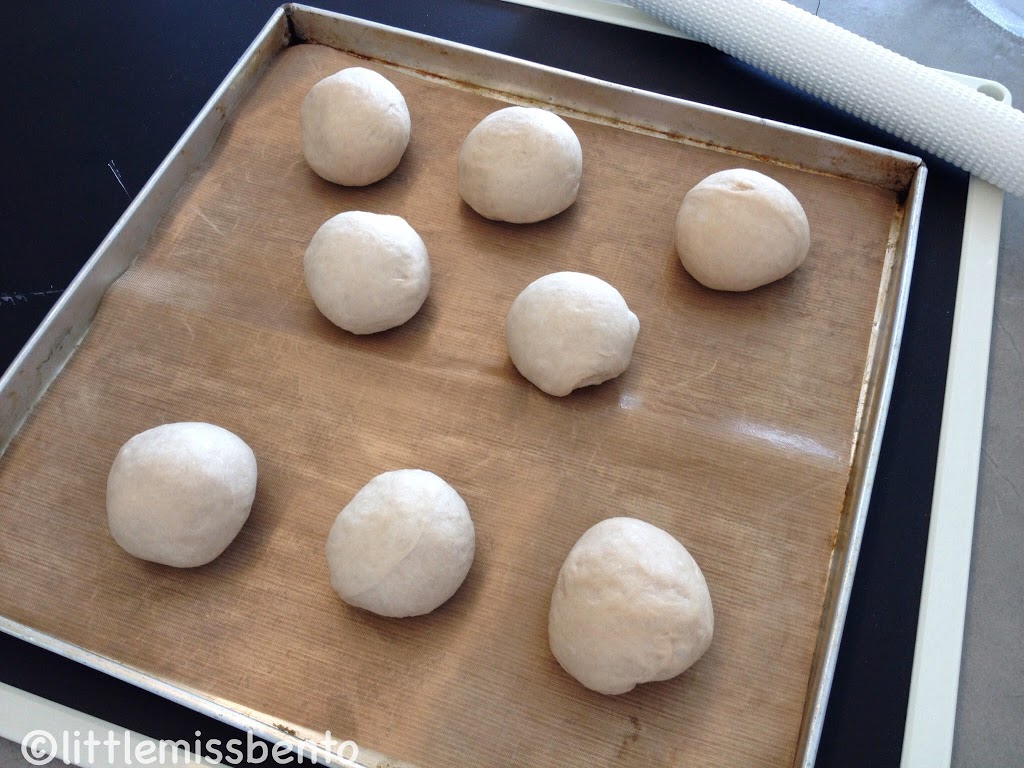
5) Punch out the air and roll the dough again. Shape it into a ball and divide into 8 equal parts. Set on the baking tray, cover with a damp towel. Set aside for 2nd rise (about 10mins).
Method (Milo custard filling) PART 2
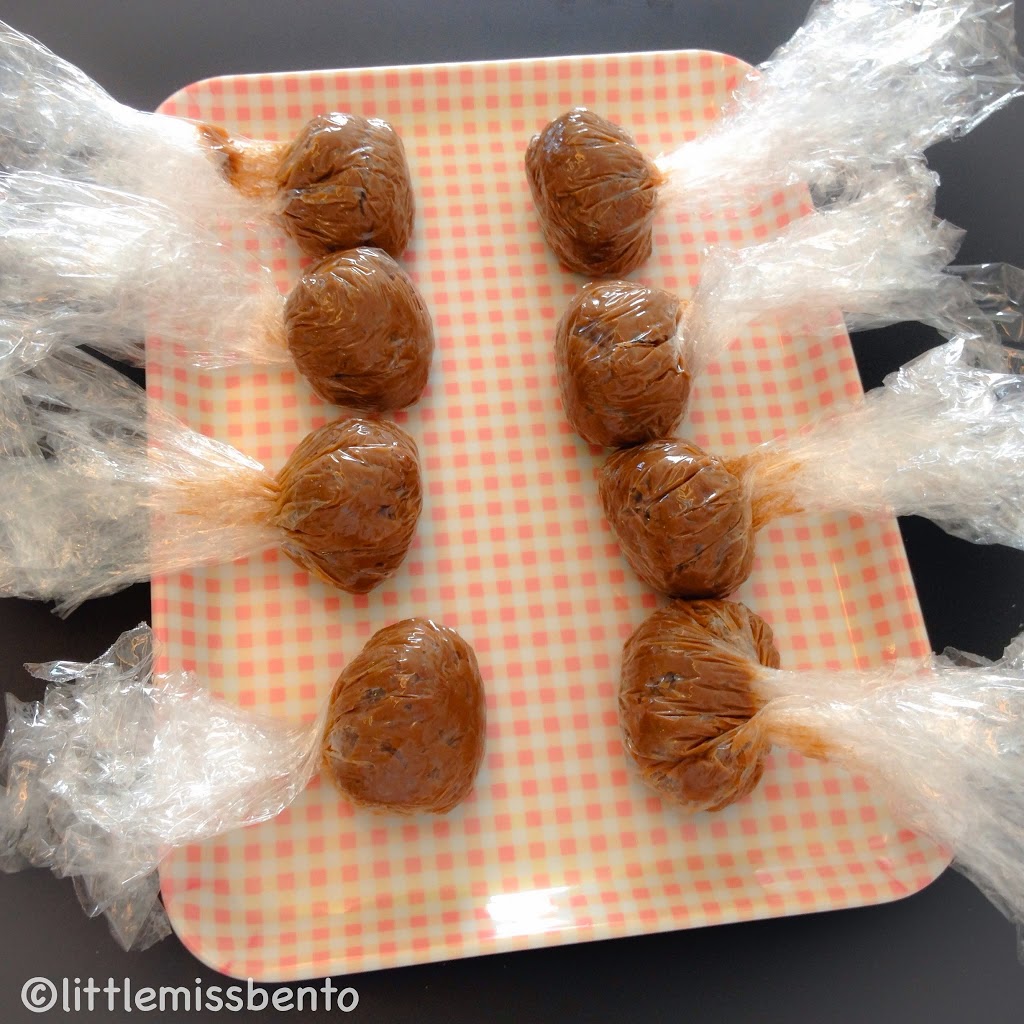
6) Take the milo custard filling out from the fridge. Scoop and divide into 8 parts (about 30g each), shape it into a small ball using cling wrap.
7) Place them back into the fridge again with the cling wrap.
Method (Chocolate custard cream for character’s features)
1) In a small mixing bowl, add egg yolk, sugar, corn flour, cocoa powder and mix well until it forms a paste.
2) In a small pot, heat the milk until small bubbles at the side appear, stir a couple of times. Remove from heat.
3) Add the paste from step 1 to the heated milk.
4) Place the pot over heat again and keep mixing and stiring until the paste is incorporated into the milk. Continue to cook and stir with a plastic spatula until it forms a curdish texture. remove from heat.
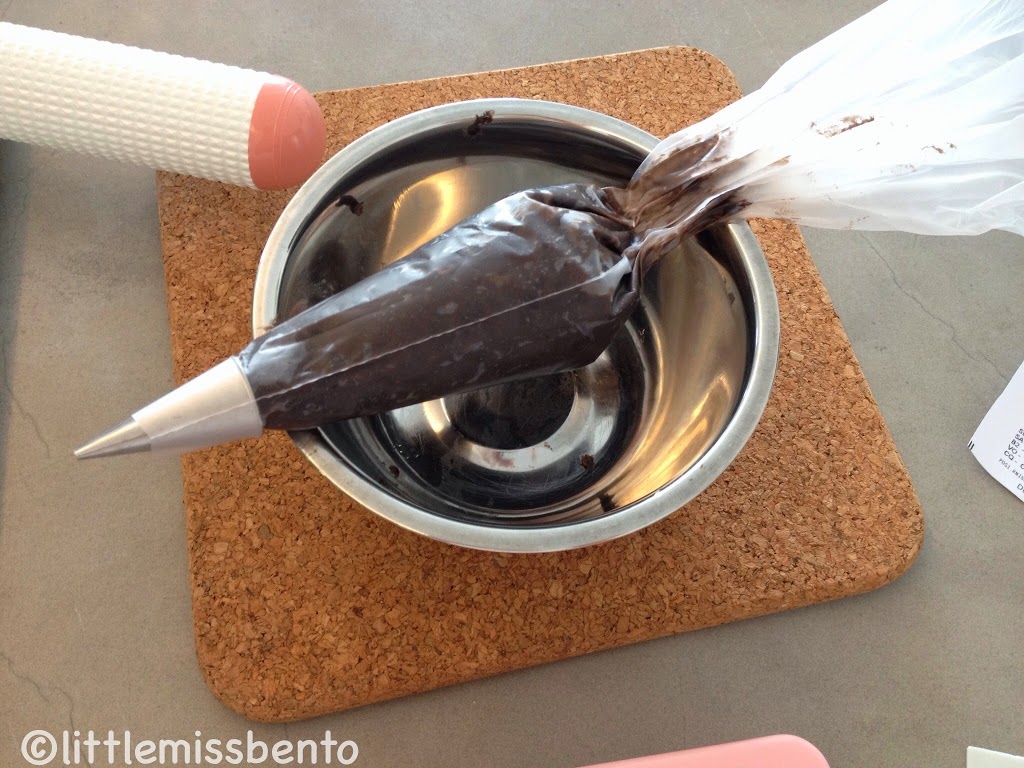
5) When cooled, transfer into a piping bag with small round tip.

Method (Bread dough) PART 2
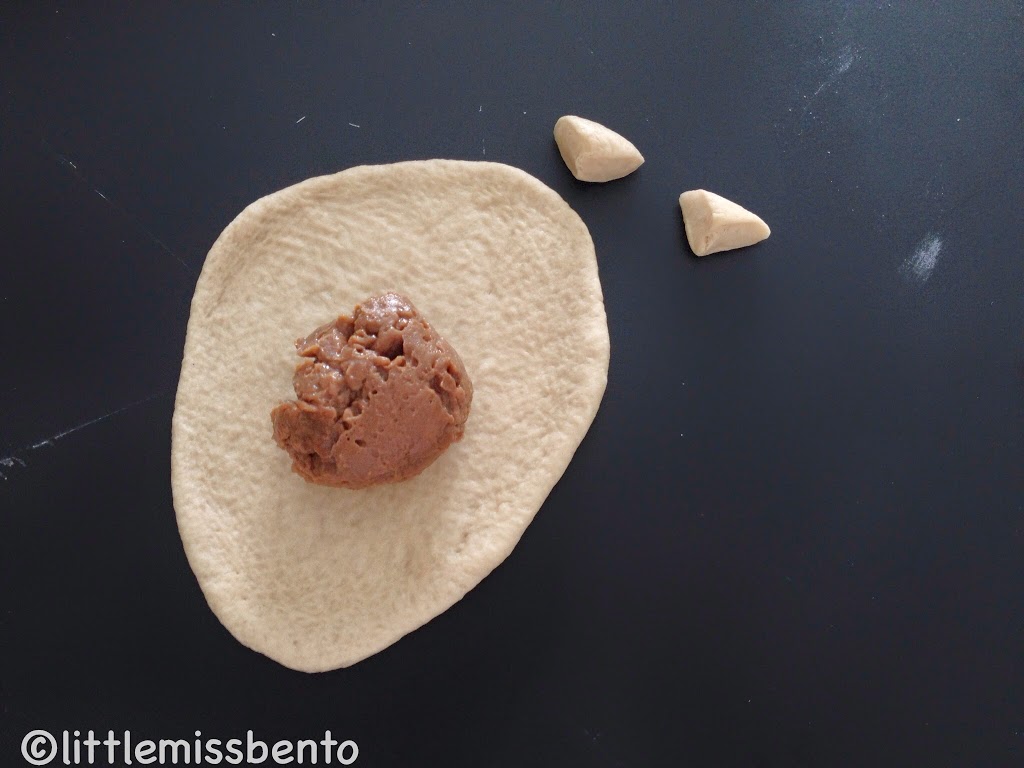
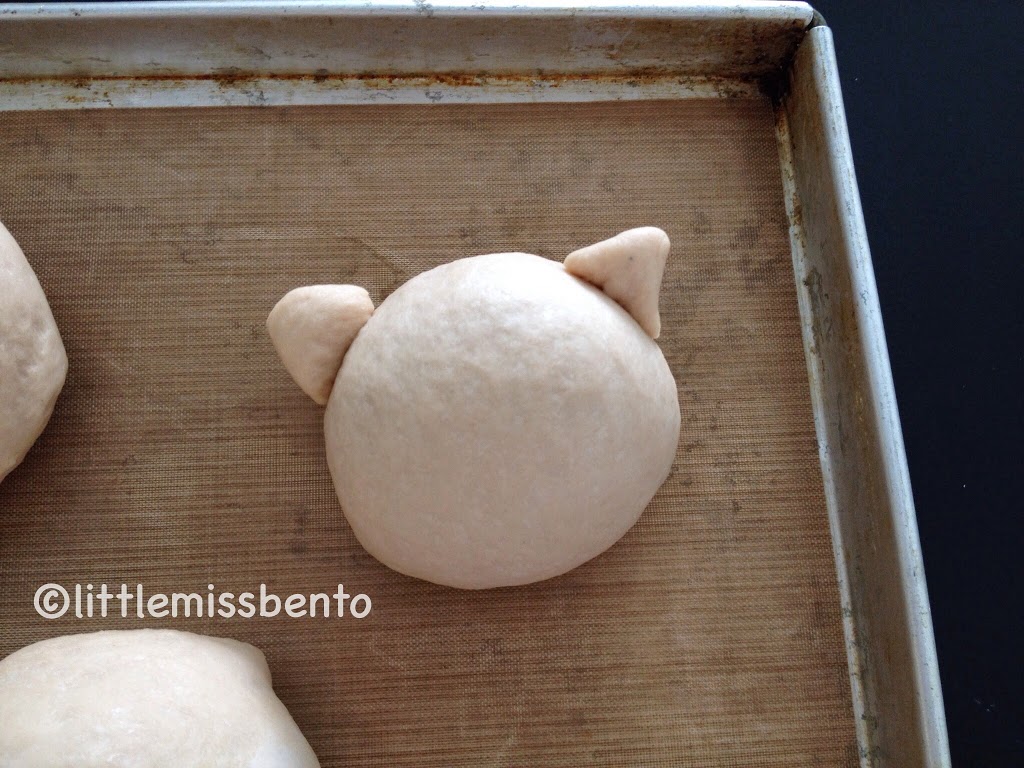
6) Roll out the bread, use a scissors to cut out 2 triangulars. Shape the rest of the bread dough into a nice roundish shape, place one of serving of the milo custard filling in the centre and seal it at the back.
7) Place the 2 small triangulars on the bread buns. This is for the ears of the tiger character.
8) Cover the bread buns with a damp cloth, set the buns aside for 3rd rise (about 10mins)
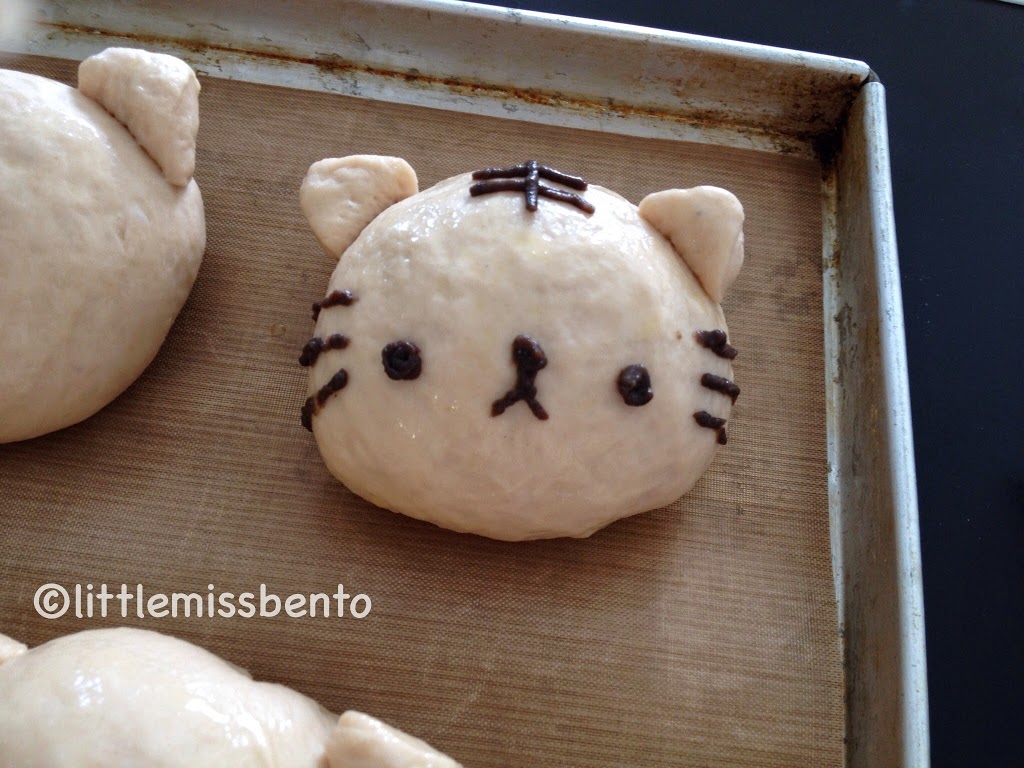
9) Brush on some egg wash.
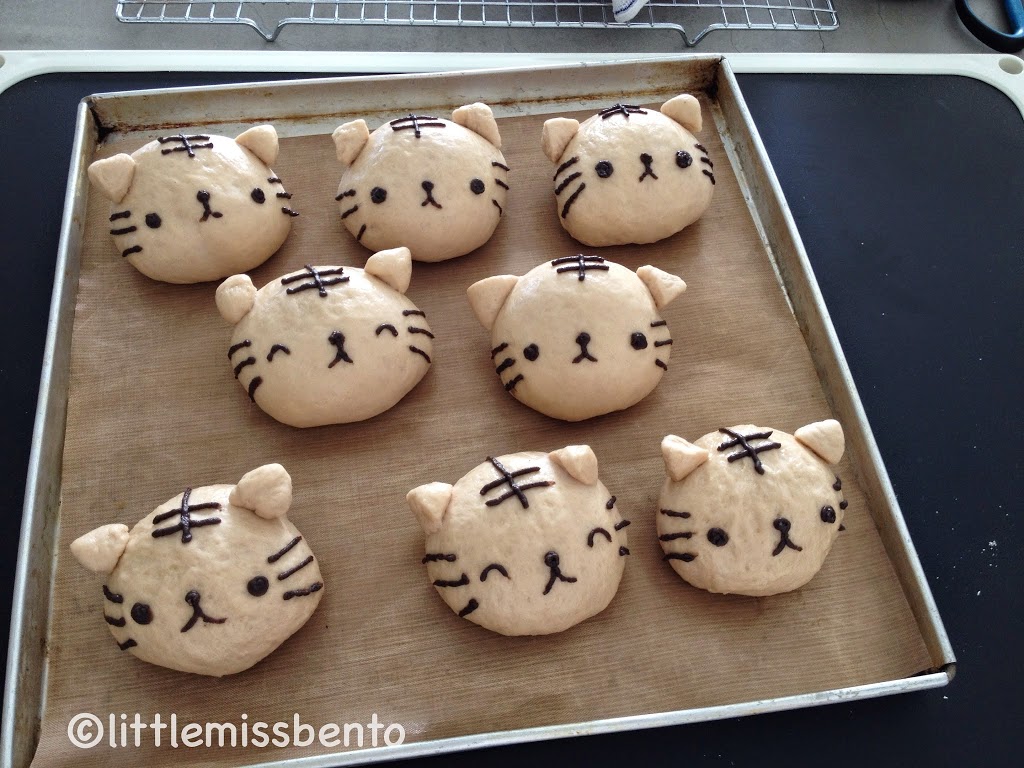
10) Pipe the features for the tiger character (the eyes, nose and strips)
11) Bake in the oven at about 170C for 15-18mins until nicely brown.
ブãƒã‚°ã®ãƒ©ãƒ³ã‚ングã«å‚åŠ ä¸ã€‚よã‚ã—ã‘ã‚Œã°ã‚¯ãƒªãƒƒã‚¯ã—ã¦ãã ã•ã„ã♪ ã‚ã‚ŠãŒã¨ã†


February 17, 2015
Hi Shirley,
I would like to start learning how to bake.
So I’ll try to make these.
Somethings I’d to ask, if you happened to look at this comment.
1. Can I use all-purpose flour, instead of bread flour?
2. Is corn flour the same as corn starch?
Thank you very much..
February 17, 2015
Hello :) Thanks for the interest to try out the recipe.
1. No cannot use all purpose flour. Reason is because in bread making, you need high gluten (high protein) flour. All purpose flour is likely not to yield the right texture or rise needed for the bread dough
2. yes corn starch flour is the same as corn flour :)
October 25, 2014
Hi! I noticed you didn’t say when to put in the salt in the bread or does it not need it at all? I put it in after the warm water+yeast and I don’t know if its my yeast but it didn’t rise. The end product was just a tad doughy but otherwise it turned out ok! Though not as pretty as yours because I botched the choc custard ^_^” I’ll definitely try again though, thanks for the recipe!
October 26, 2014
Ah I must have missed it, thanks for pointing it out. Usually the salt is added to the flour together with the rest of the ingredients like sugar and butter.
Hmm it should rise. But temperatures and humidity matters. Were you hand kneading or using bread machine?
June 6, 2014
做了做了,很好吃。我的孩子们都很喜欢。。谢谢!
June 6, 2014
yeayyyyy thank you!! I am so happy!
May 4, 2014
Wow so adorable ! ♡♡♡
May 5, 2014
thank you so much! :)
April 28, 2014
This looks super yummy! I’m sure my kids will love this.
May 5, 2014
Please try it! my friends who ate it say it was yummy too! :D
April 28, 2014
好有创意!这个好可爱也好诱人!谢谢分享^^
May 5, 2014
婉婉,谢谢你一直以来的支持!
April 28, 2014
So adorable! Tk u for sharing!
May 5, 2014
Thanks !~ Glad u like it!
April 28, 2014
Love this, sooo cute and thanks for sharing the tutorial!
May 5, 2014
Not at all, the bread was yummy and I am happy to share!
April 28, 2014
Gosh! This is so cute, you are always so awesome in all these cute crafty stuffs!
May 5, 2014
hheheh I love my food cute :P
April 28, 2014
omg!!! this is so awesome! You are really very creative and good with these :)
May 5, 2014
Thanks so very much dear!
April 28, 2014
oh gosh….double thumbs up!! very details tutorial dear & makes me want to try out too!!! Thanks for sharing :)
May 5, 2014
Awww thanks dear! Please try! the bread was yummy!!! :D